Myst Online on Linux Mint 21.1

I’ve now installed Myst Online: URU Live on a couple of machines running Linux Mint 21.1. It wasn’t as straightforward as I would have hoped. The below steps worked for me, and I hope they’ll work for you!

Relto Island
  • Open Software Manager, and install Lutris
    • Install the Flatpack version, rather than the Linux Mint package. The latter halts when it tries to run Wine.
  • Confirm via the Software Manager that Wine is installed.
  • Open Lutris
    • Here you will be tempted to use Lutris’ config/installer for the game. Don’t do that. It’ll install, and even launch the game, but the installer hangs before completing, so it never adds the game to the list.
  • Download the game installer from Myst Online’s site.
  • Click on the + button in Lutris to add a game.
    • Select “Install a Windows game from media”
    • Enter the game’s name and click Continue
    • Click Install
    • Make with the clicky on the options you want, then click Install
    • Click the Browse button and navigate to the installation file that you downloaded.
    • Click Continue
  • You will now be kicked into the Windows installer for Myst Online: URU Live. Do the same things you’d do in Windows.
  • When the installation finishes, it will ask you if you want to launch the game. Tell it the same thing you tell those phone calls asking about your car’s extended warranty. Just say no.
  • The installation should complete, and you should now have the game listed in Lutris.
  • Launch the game from Lutris. It will go through all of the updating that is normal during a first launch.
  • Enjoy the 20-year-old MMO!

Sub-a-thon!

Skippy smiling

Mark your calendars! This Saturday, the 25th of March, I will be beginning an uncapped sub-a-thon on my Glimesh channel!

The rules are pretty straightforward. I will be starting with the normal stream length, which is two hours. Every sub to the channel will add a half hour to the stream. If I start to feel my Old(TM) and need to end stream, any leftover time will be carried over to stream the next day. I will be streaming every day that I am able until the clock runs out.

Obviously, kid time, work, and sleep are not streamable time for me, no matter what Mosier says.

So, this Saturday, as soon as I’m able to get my butt in the chair, the stream-a-thon will begin! I hope to see you there!

Google Nest Battery Doorbell screws

Nest Doorbell box

I had a really hard time finding a replacement doorbell wire screw for my new Nest Battery doorbell (Pro edition?) that was installed by ADT. In attempting to get my ancient mechanical doorbell to function with it, I ended up dropping the screw into the landscaping. And since the screw wasn’t magnetic, I knew it was gone forever.

Internet searches led me in a bunch of different directions, because the screws have changed since Google/Alphabet purchased Nest. None of what I found worked. In the end, my leftover computer screws saved the day.

Close-up of back of Nest Doorbell

M.2/NVME stand-offs have a very small screw that goes inside, to lock the M.2 card into place. That screw (NOT the stand-off screw) fit perfectly, and held the wire adapters in place snugly, as shown in the photo.

I hope that someone can use this information, and doesn’t have to go searching and scrounging like I did! Good luck!

Old enough for a phone!

MonkeyLinkMega has entered his teenage years, my friends. Skippy, you may protest, didn’t he do that back in March? Yes, that is correct. Also get off my back.

Ahem.

His mother and I had agreed a while back that he had proven himself responsible enough to have his own cell phone. On top of that, he’s in enough after-school activities that a phone would be useful for him to call for rides, and for us to call him in the case of “Where in the crap are you?!”

My intent was to fix my Dad’s old Samsung Galaxy S6. Its battery would swell every time it was charged, and so I ordered the iFixit kit to replace the battery. As most are, this cell phone was NOT designed to be serviced easily.

I was able to replace the battery, but when I put everything back together, the screen just flashed at me. So, either the battery swell had caused damage to other parts of the phone, or I had damaged the screen somehow as I’d taken the phone apart. In all honesty, I think the latter is more likely. Into the electronics recycling it went!

Four iPhones on a desk

That still left me with the need to get Monkey a phone. My recent trip out to North Carolina solved that problem for me (thanks Zeb!). Among the electronics Zeb was giving me to find a new home for was a bunch of old iPhones, ranging from a 5 to an 8. The 8 needed a screen replacement, so I set the 7 up for him. Little bit of Mint, little bit of OS updating, some Apple ID password shenanigans, and it was good to go.

So, my youngest son has his very first phone, and it’s giving old hardware new life!

Stop crying, Shinji.

EVA-01 model mostly assembled

Back near the beginning of the COVID-19 pandemic, I decided that I would place an order from Big Bad Toy Store for models. One for me, and one for each of the kids, and we’d assemble them together.

MonkeyLinkMega’s Dragonball Z model came together very quickly, and is still doing the model thing. It doesn’t stand up to heavy play, but it poses well.

Ace of Hearts’ Sakura model was an absolute disaster. I abandoned my own model to help with hers, and it was a complete wreck. In the end, we returned it as defective (with photographic evidence) in return for some wonderfully nerdy blankets that are still in use today.

My model was EVA-01 from Neon Genesis Evangelion. I got most of the torso assembled on that first day, but then it sat collecting dust for around a year. Off and on, I’d pay it some attention, and I got the head assembled and attached to the torso. But once again, into the dust-collecting box it went. Then came my current push to tackle unfinished projects!

EVA-01 model

I got the arms and the legs done rather quickly, but paused again – life tends to happen despite best intentions – before I finished the gun, knives, hands, etc. If I remember correctly, the kids were here when I got everything put together, raised my arms in the air, and yelled, “IT’S DONE!”

And then I turned the last page of the manual, and on the back cover was the guide to placing the rest of the incredibly small stickers. Oh, no.

I had raised false hopes in both myself and MonkeyLinkMega (because he is waiting with varying levels of patience for me to begin my next project), and then dashed them. A couple weeks later, I knew I wasn’t going to put these tiny little jerkfaces on the model all on my own, so I used my writing/crafting setup to stream it.

Now, it’s finally finished, and I think it looks great! I’ve learned that this is not my kind of thing, and that I should buy my toys pre-assembled (Lego being the exception that proves the rule). Not only do I now have a story tell, but a model to show off.

Well worth the struggle, I think.

A Dragon and a Lighter

A zippo lighter and a knock-off case

I found this lighter among a bunch of stuff on my counter, and I knew I’d had a history with it, but I couldn’t remember anything about it. For whatever reason, I immediately wanted to repair it, and get it burning again. During this process, not only did I uncover old memories, but I learned a whole lot of new stuff about it.

First and foremost, the bottom of the beautiful dragon case has MADE IN CHINA stamped across it. So, from the get-go, I assumed that the entire lighter was a knock-off. It was still worth repairing, and so that’s what I was going to do.

A tin of Zippo lighter fluid

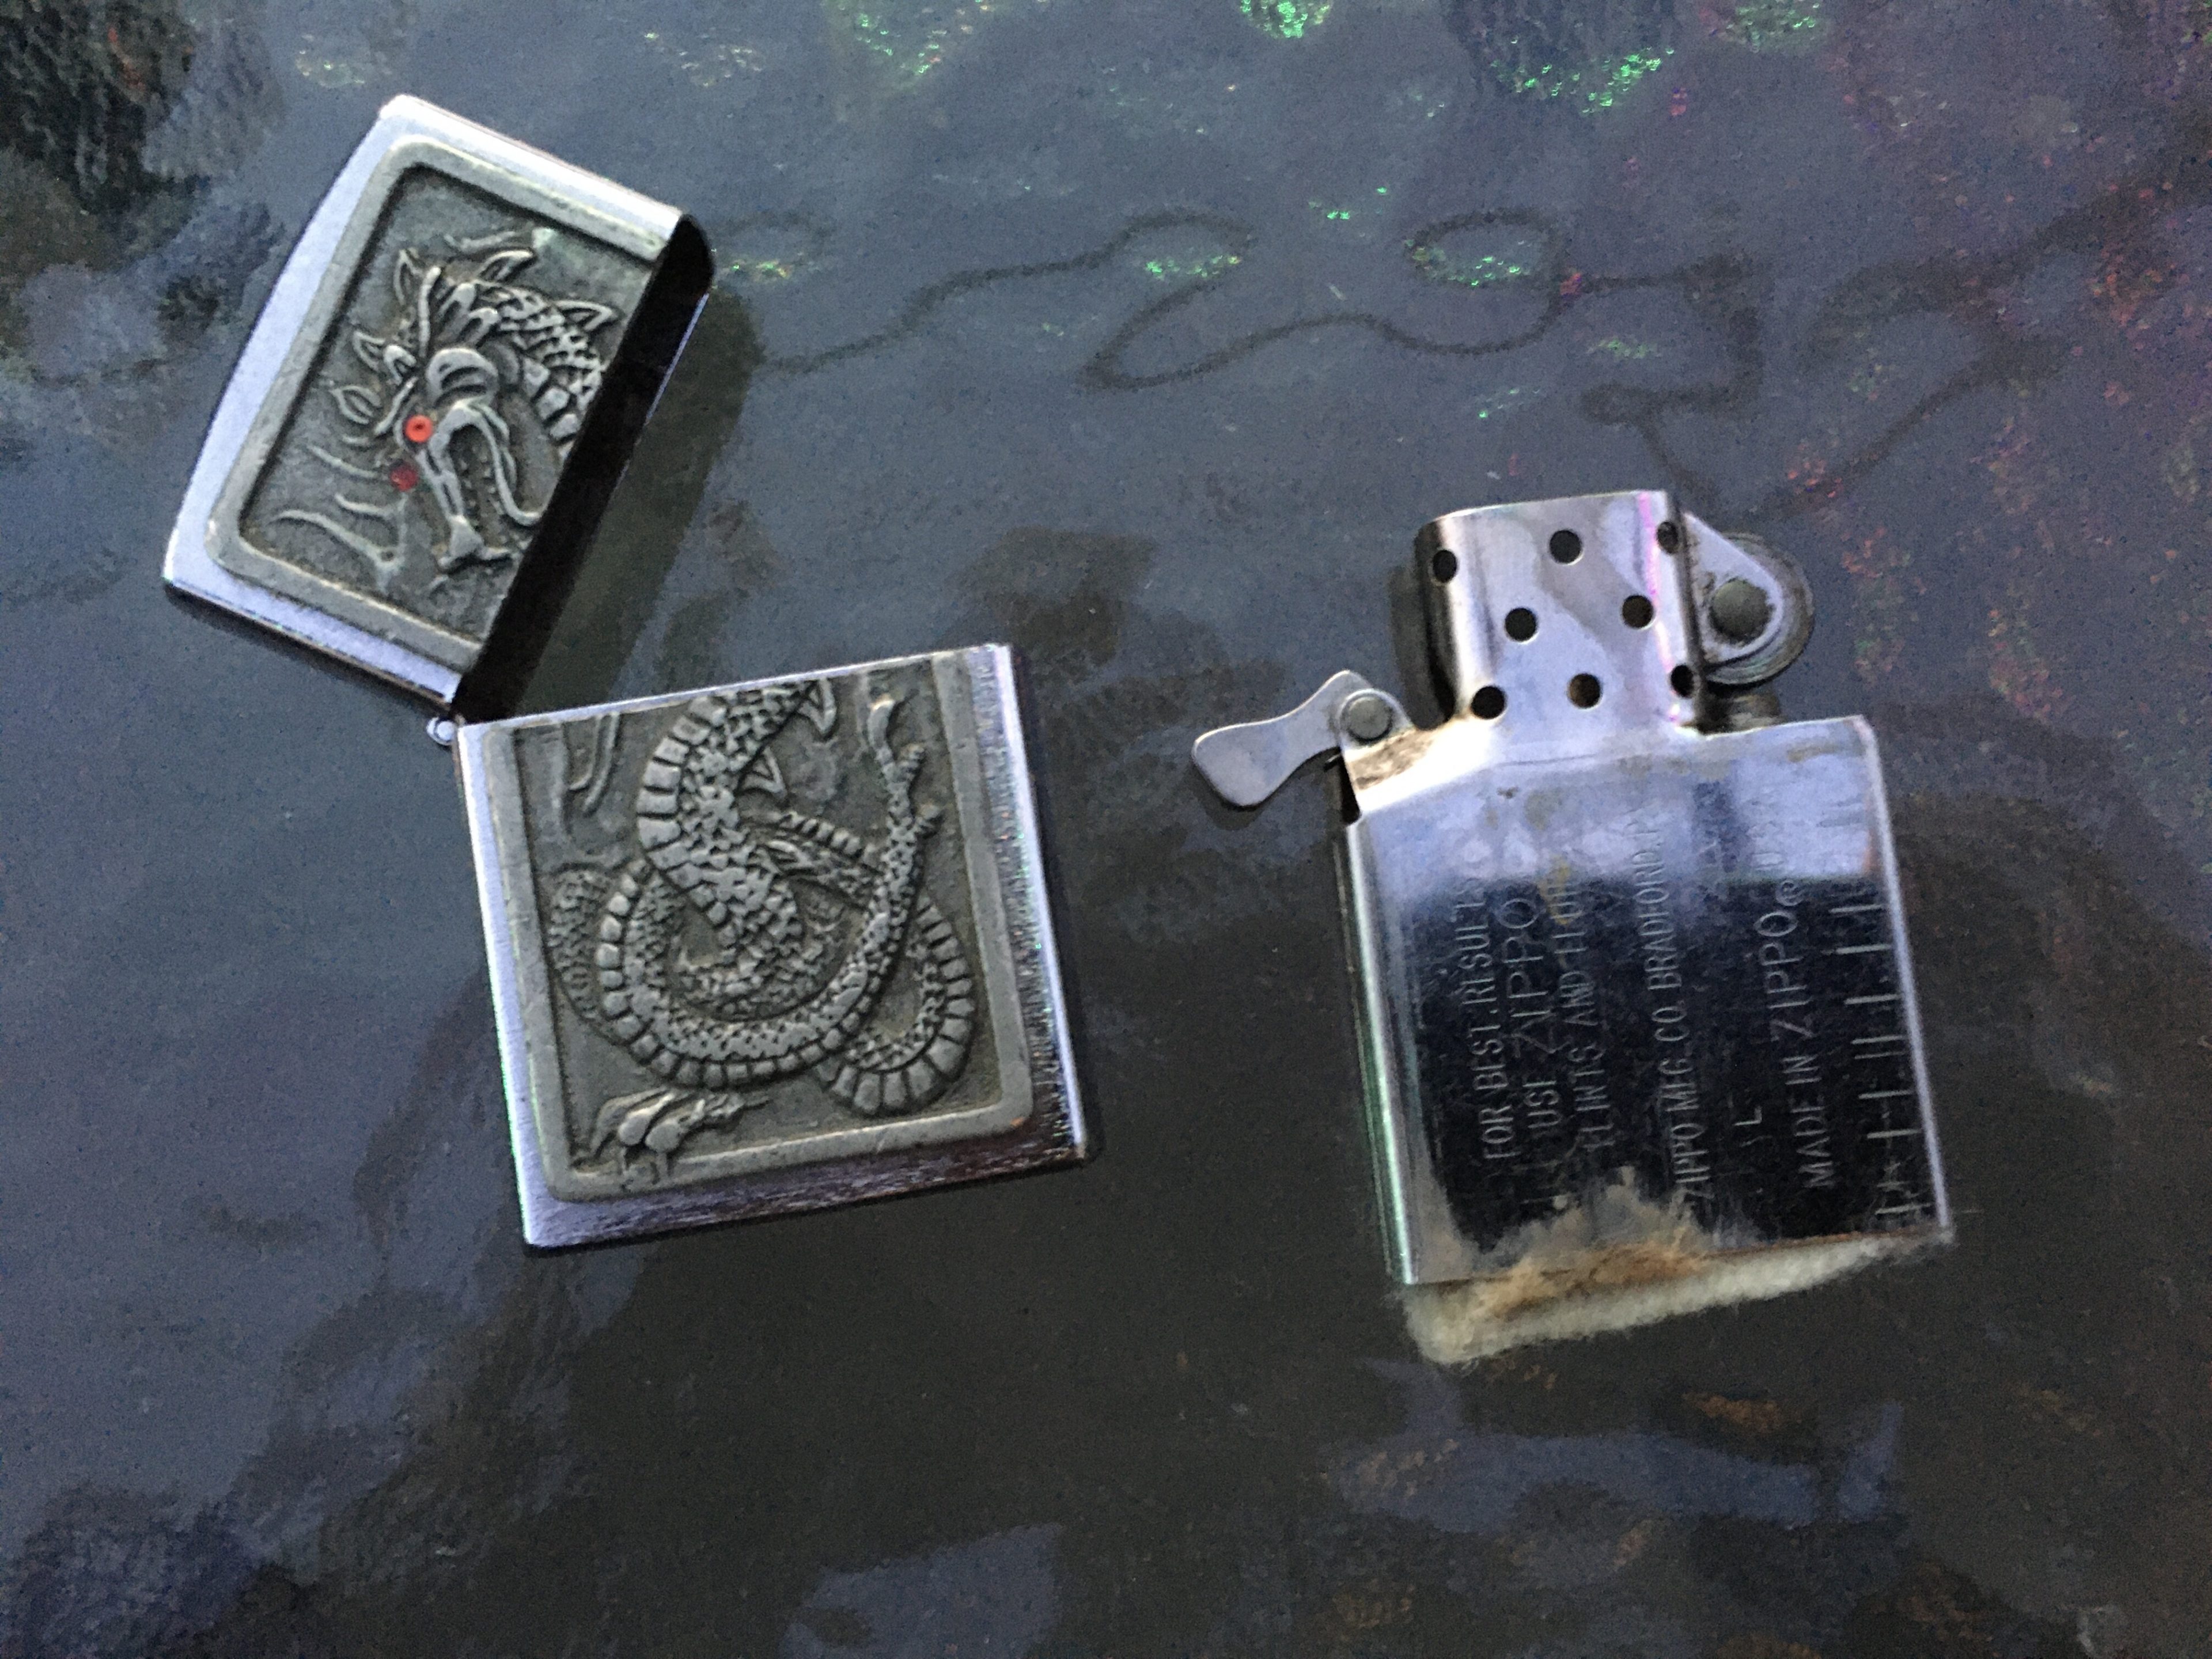
As far as the problems with the lighter, I know I’d fiddled with the wick, and sure enough, it was pulled apart and splayed all over the flame’s chamber. After watching a bunch of lighter restorations on Odd Tinkering, I figured I would have to replace the wick and refill the fluid, and then give it another shot. After a suggestion from Honal in my stream‘s chat, I managed to pull up the wick and trim off the mangled bit, rather than replacing the whole thing..

I took the lighter completely apart, which led me to discover that there were two flints sitting in the spring, rather than one. The second one, upon release from its prison, shot off to forever reside between my floor boards. Goodbye, secondary flint. I barely knew ye.

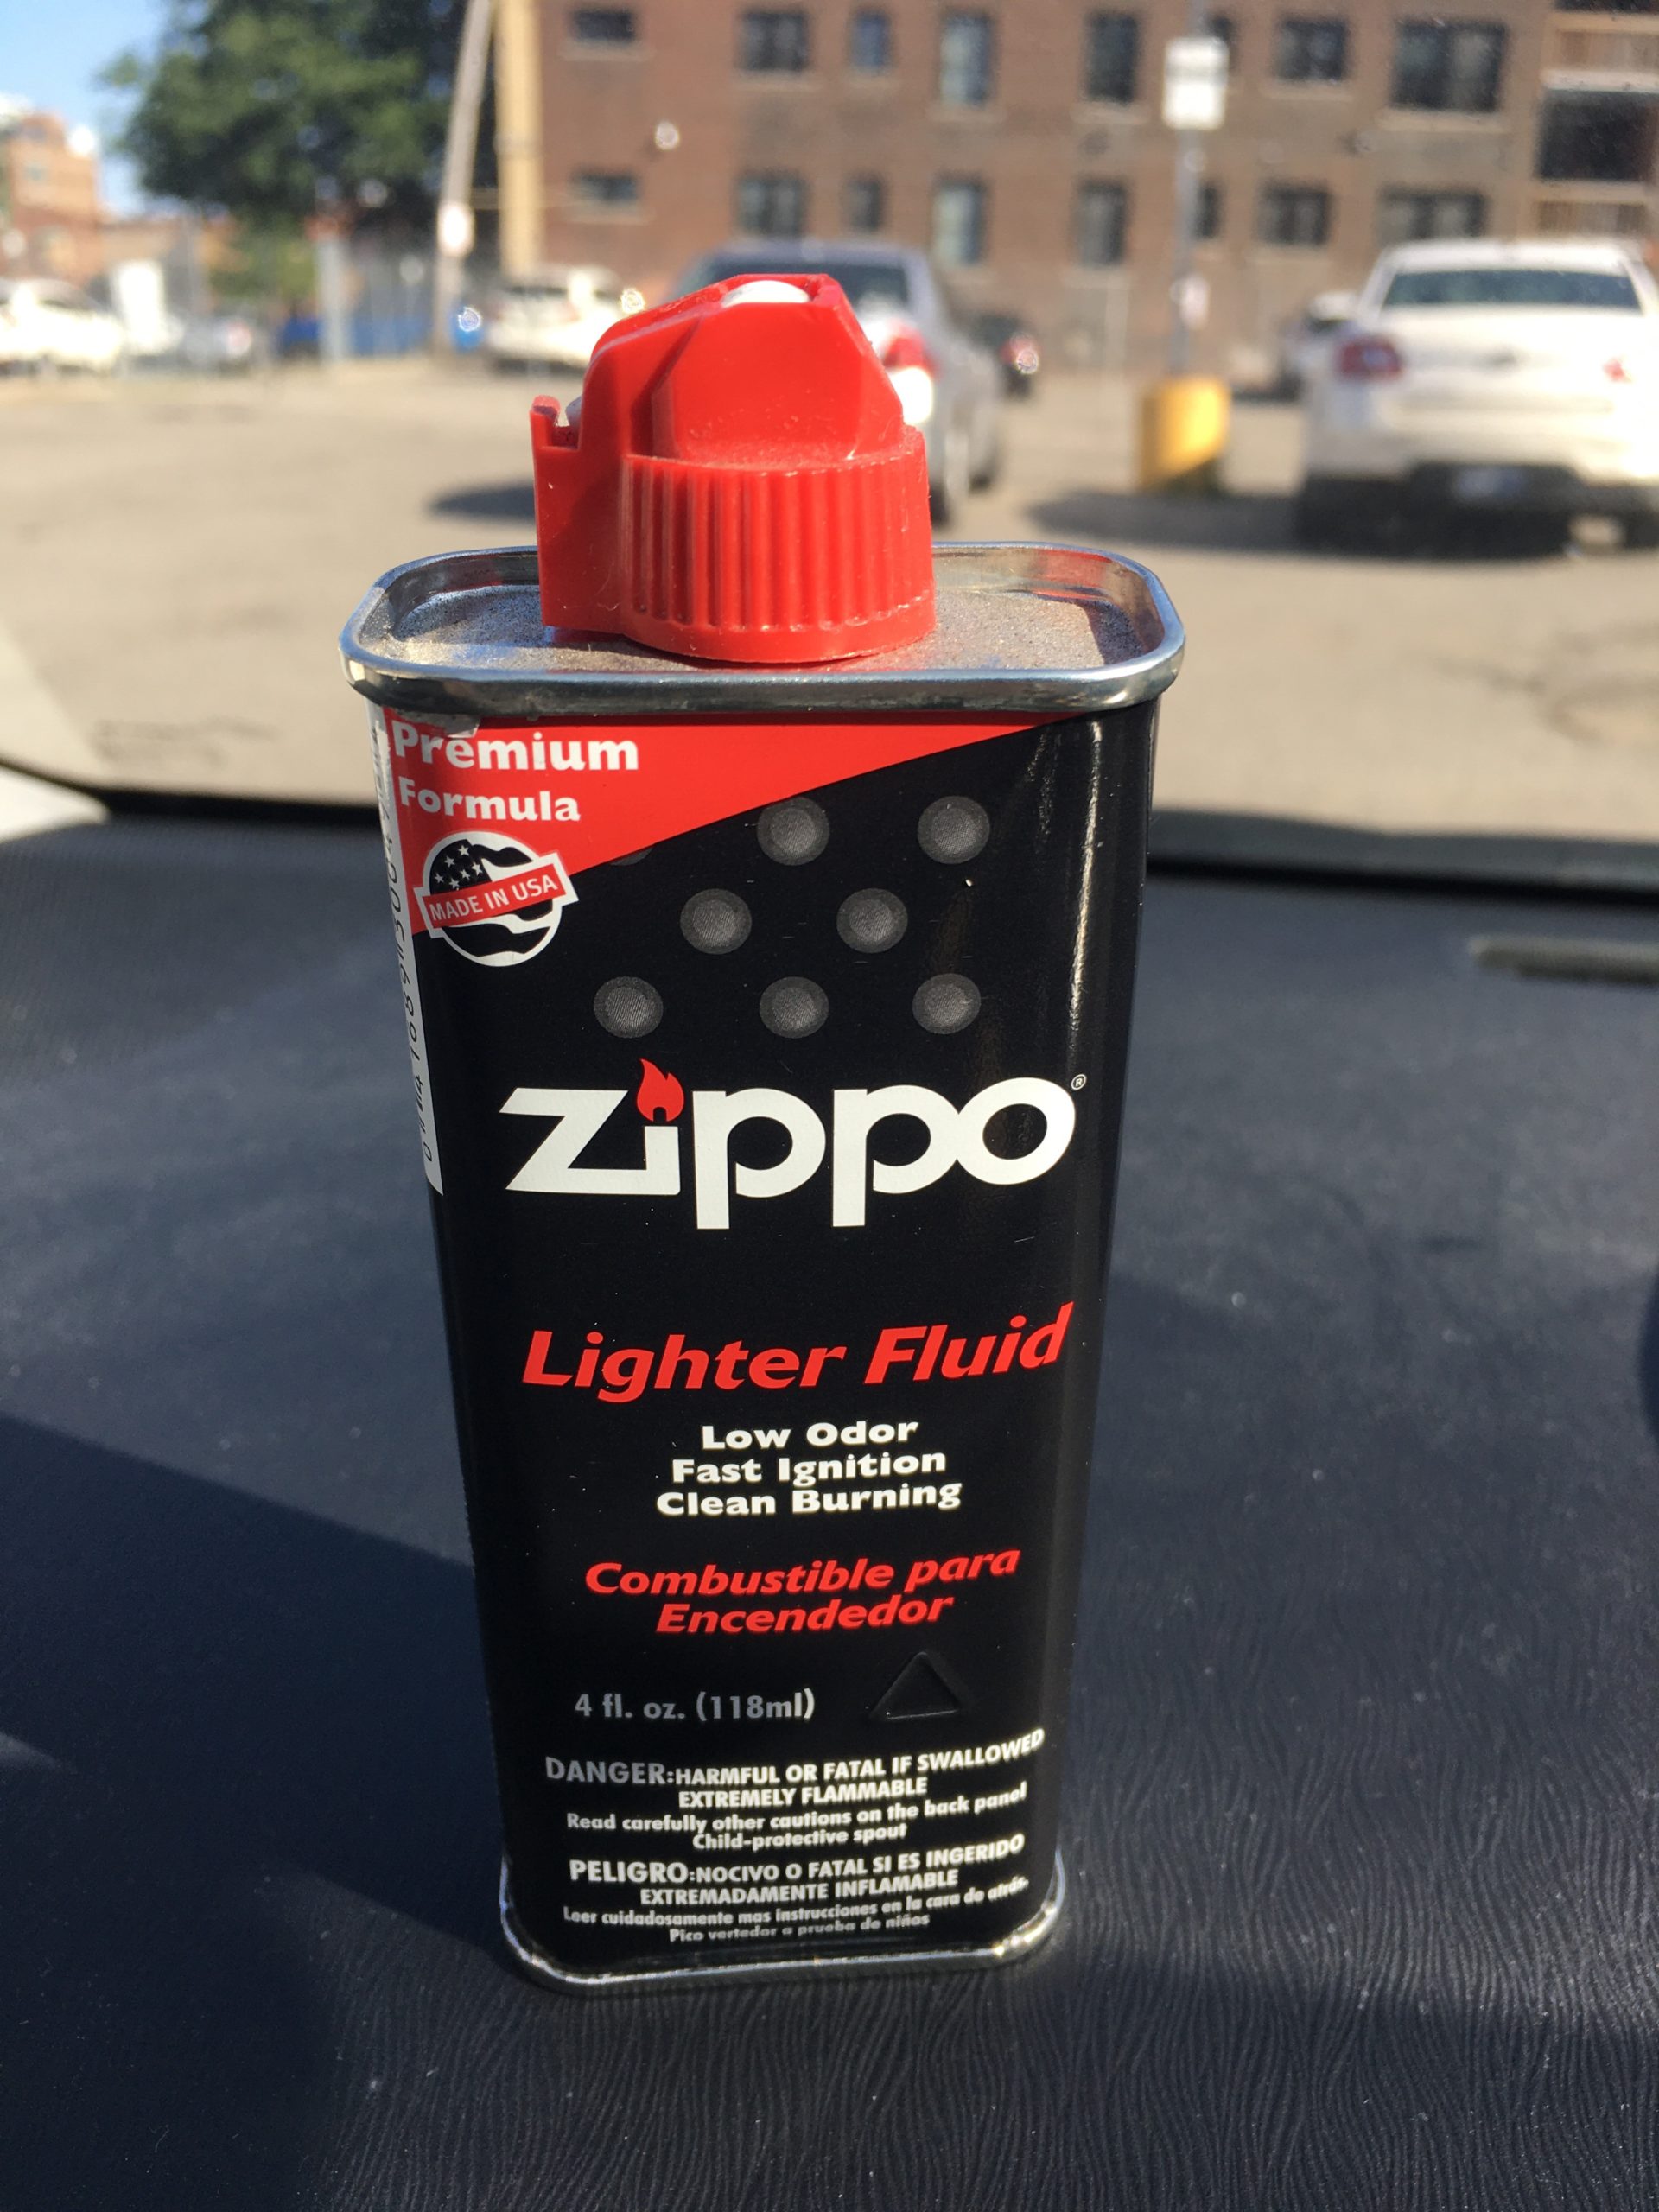
At this point I was able to pull the wick up pretty easily, and clip the top off with craft clippers. I was also able to buy some lighter fluid from Marcus Market nearby. I put it all together, and it worked again! It lit in the first couple of spins of the wheel, and stayed lit, even in the wind!

Dragon zippo lighter with lit cigar resting on it

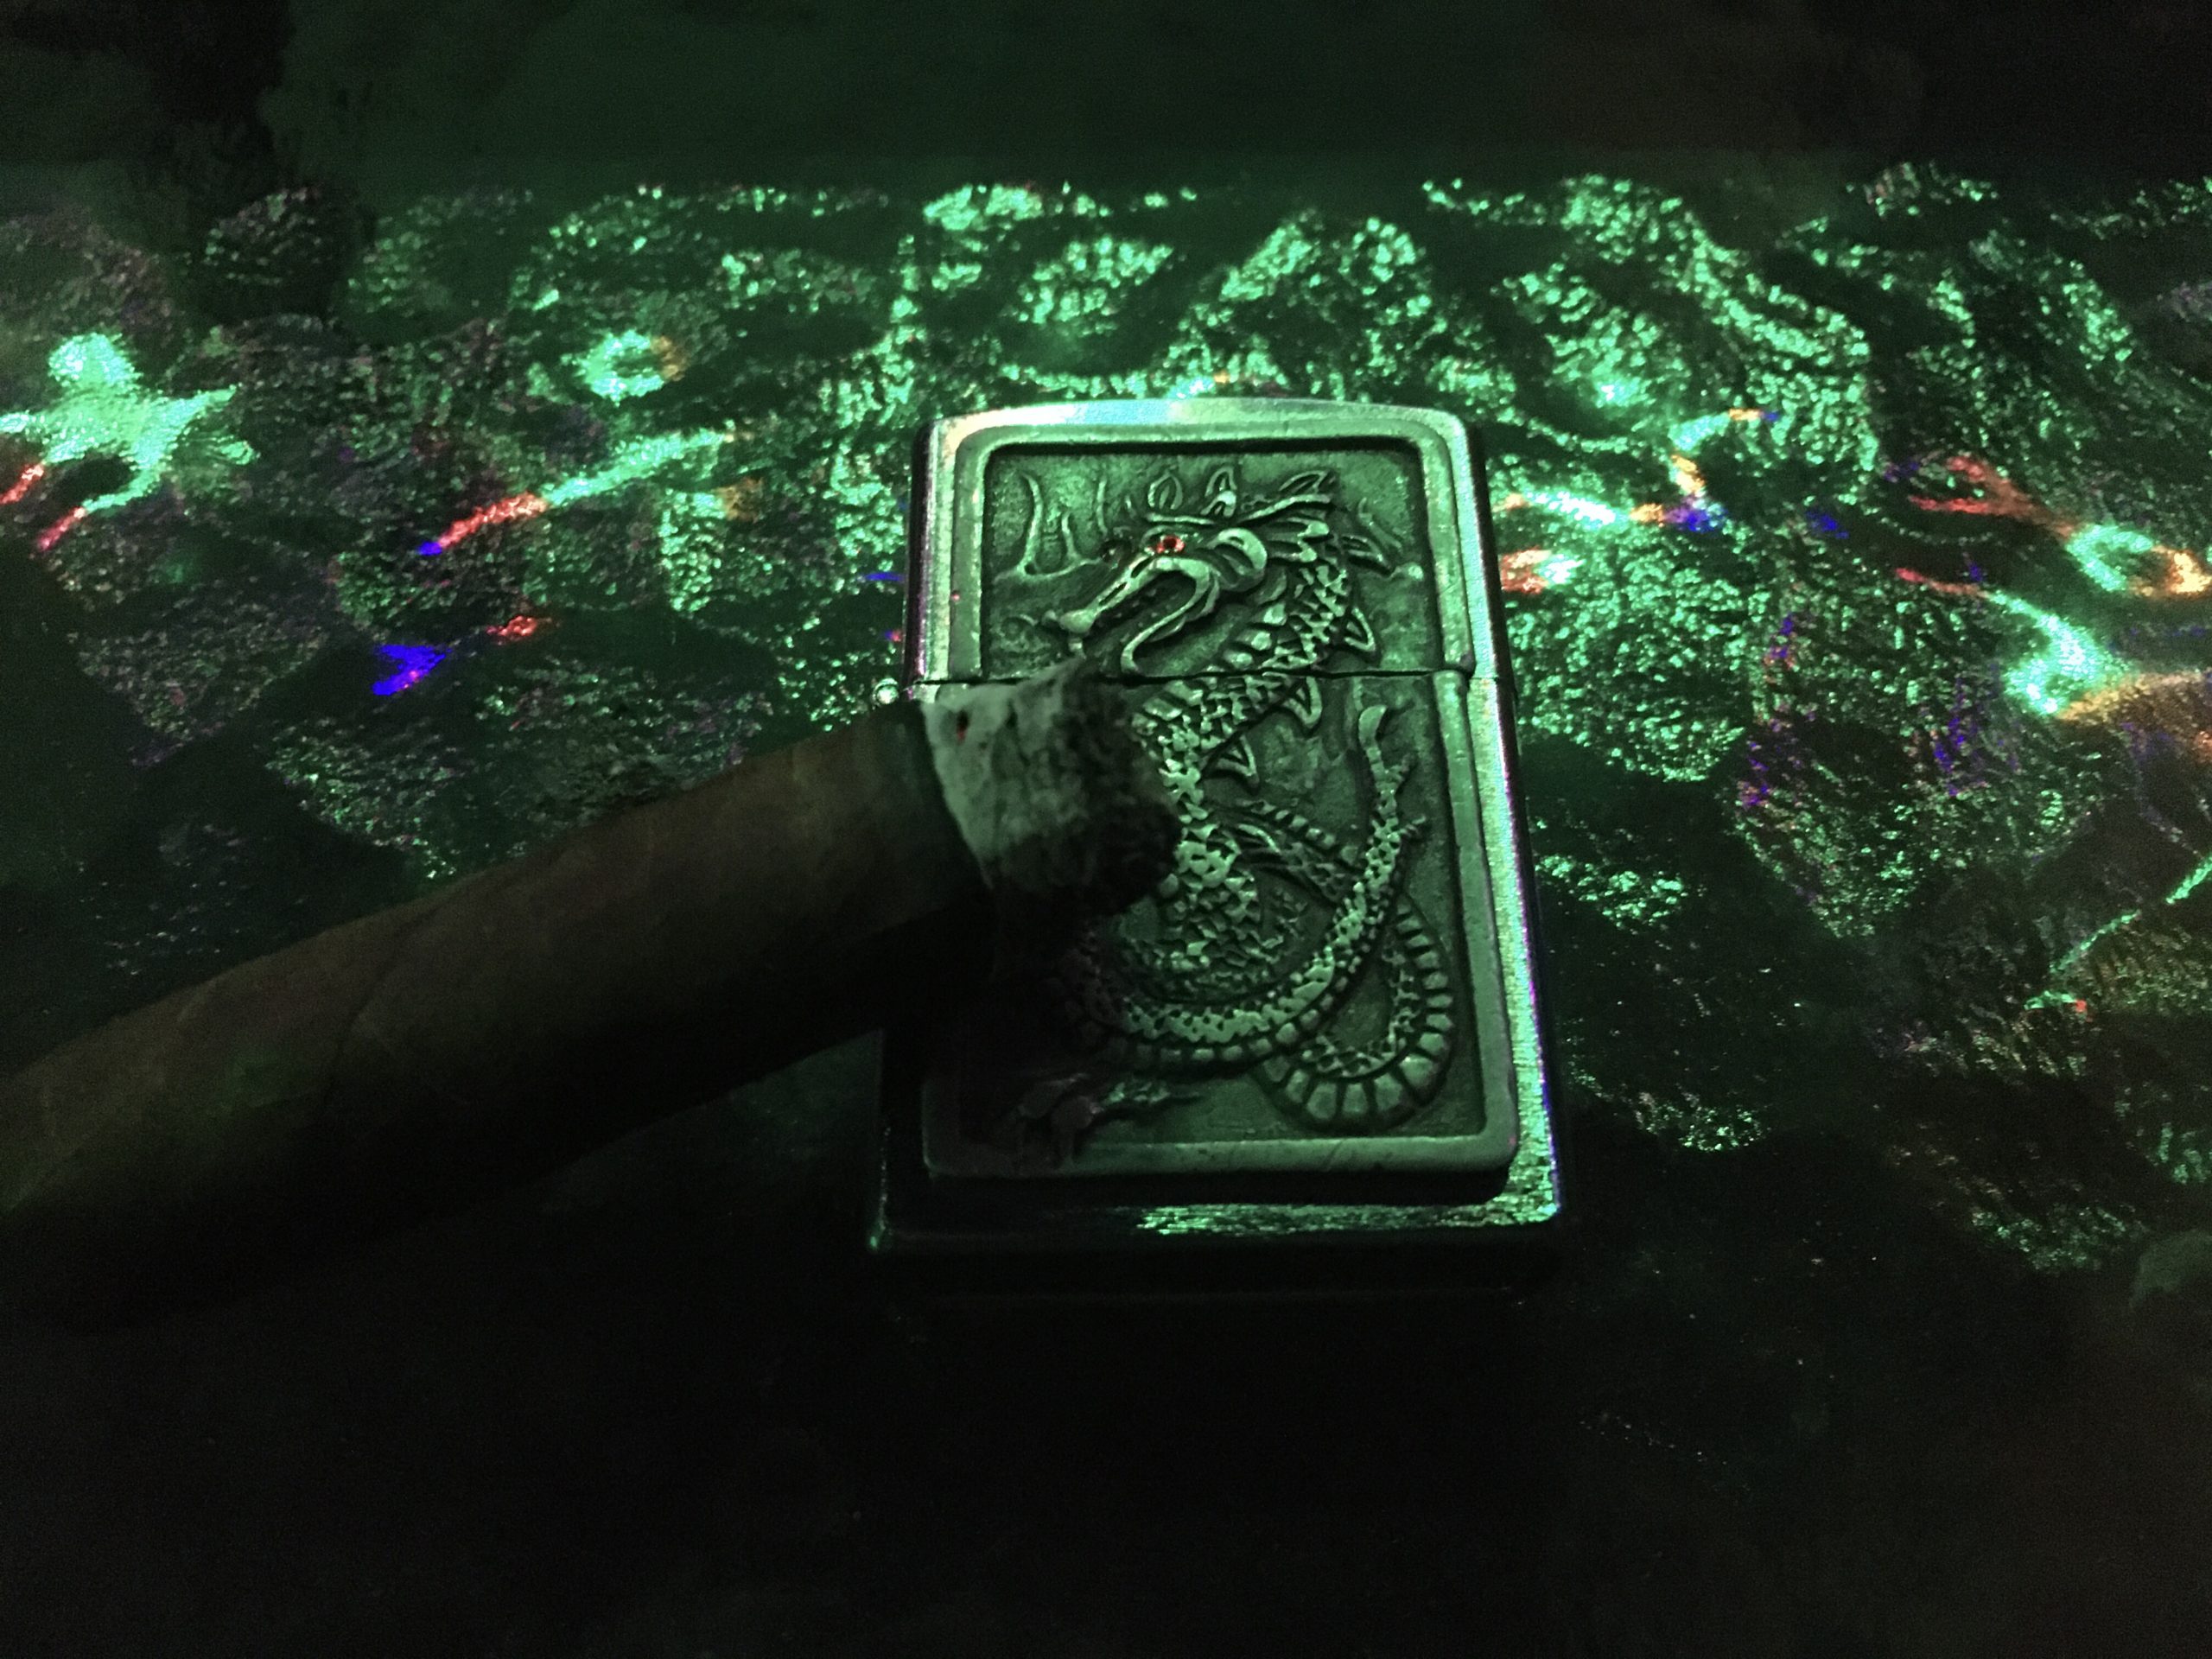
Next came the real test – lighting a cigar. It singed the edge evenly, and lit the tip of the cigar evenly and quickly. It’s a good lighter, and it works!

As I was taking some photos, I discovered that there was some etching on the lighter itself. It was the manufacturer stamping from Zippo! While the case is definitely a knockoff, the lighter itself was genuine. Now I had even more questions about the lighter’s history, and how it had come to be in its present state, and how it had managed to come into my life.

About a week later, I re-learned why I’d been trying to fix this lighter in the first place, which had ended with me mangling the wick. It wouldn’t light. It acted like it was completely out of fluid. I must have thought that either the fluid was being prevented from being brought upward, or that the wick wasn’t close enough to the spark wheel to light.

So, with the patience of middle age (ha!) and access to the internet, I googled how long I should expect lighter fluid to last in a Zippo. The consensus seems to be anywhere between one week and one month, depending on regularity of use. The more often the lighter is used, the longer the fluid lasts.

The lighter hadn’t been broken. I had used it rarely, even then, so the fluid was just evaporating away. My expectations that it would last longer was the actual problem, not the wick. Well, now I have a beautiful working wind-proof lighter, part Zippo, part knock-off, AND the knowledge to take proper care of it.

Sealed Drinkware

Coffee table with craft mugs

I have drink ware that needed to be sealed. And for the love of cheese, I was going to do it right this time.

The middle mug, after it was stickered, was covered in a layer of nail polish clear coat, on Ace’s suggestion. It worked well for a little while, but the stickers eventually soaked up water while in the sink being washed. So I consulted with some of my crafty friends for advice.

Enter Mod Podge Dishwasher Safe. The kids and I picked it up from a Michaels, and when I decided to start wrapping up projects, I pulled it out of the bag. The sealant went on very easily, and the glossy finish dried shiny and smooth. I did three coats, and let each one fully dry before I started the next.

Before you follow my lead, there’s a bit of a gotcha. Because of course there is. This particular formulation of Mod Podge requires 28 DAYS, that’s right, a LUNAR MONTH, to fully cure and be top-rack dishwasher safe. So now my mugs and Ace’s water bottle sit on top of the refrigerator, awaiting their release back into rotation.

Soon, my pretties, SOON.

Wall of You Accomplished Something, Actually

Wall of certificates

So, I do this thing where I talk down about myself. I do it a lot more than my friends and family would like. Sometimes, they get irritated enough to remind me how much they dislike it.

At the same time, I have these certificates, from things I’ve accomplished in my life. Eagle Scout in the BSA. Graduated high school with high honors. Published my own first novel. Donated hair to be used in wigs for kids with cancer. I always felt that putting these up on the wall was a form of bragging, so I never did.

After a recent reminder about my self-deprecating habits, I decided that hanging these certificates on the wall would be a form of self-affirmation. I would put them on a place where I would see them every day, and thus remind myself that I can have, and have had, a positive impact on the world. Enough of an impact, in fact, that someone gave me a piece of paper to remind me.

So I did. I framed them and hung them in my bedroom, on the side of the room where I always get off my bed. They cannot be avoided, and I think that’s a good thing. My friends and family are to credit for this, and I love them for it.

Take that, brain!