
 To see all the posts for this project, click on the “Handheld Gaming” category below.
So, we have SteamOS working on a Super Small Form Factor box. We have a couple of games downloaded and tested. What’s next?
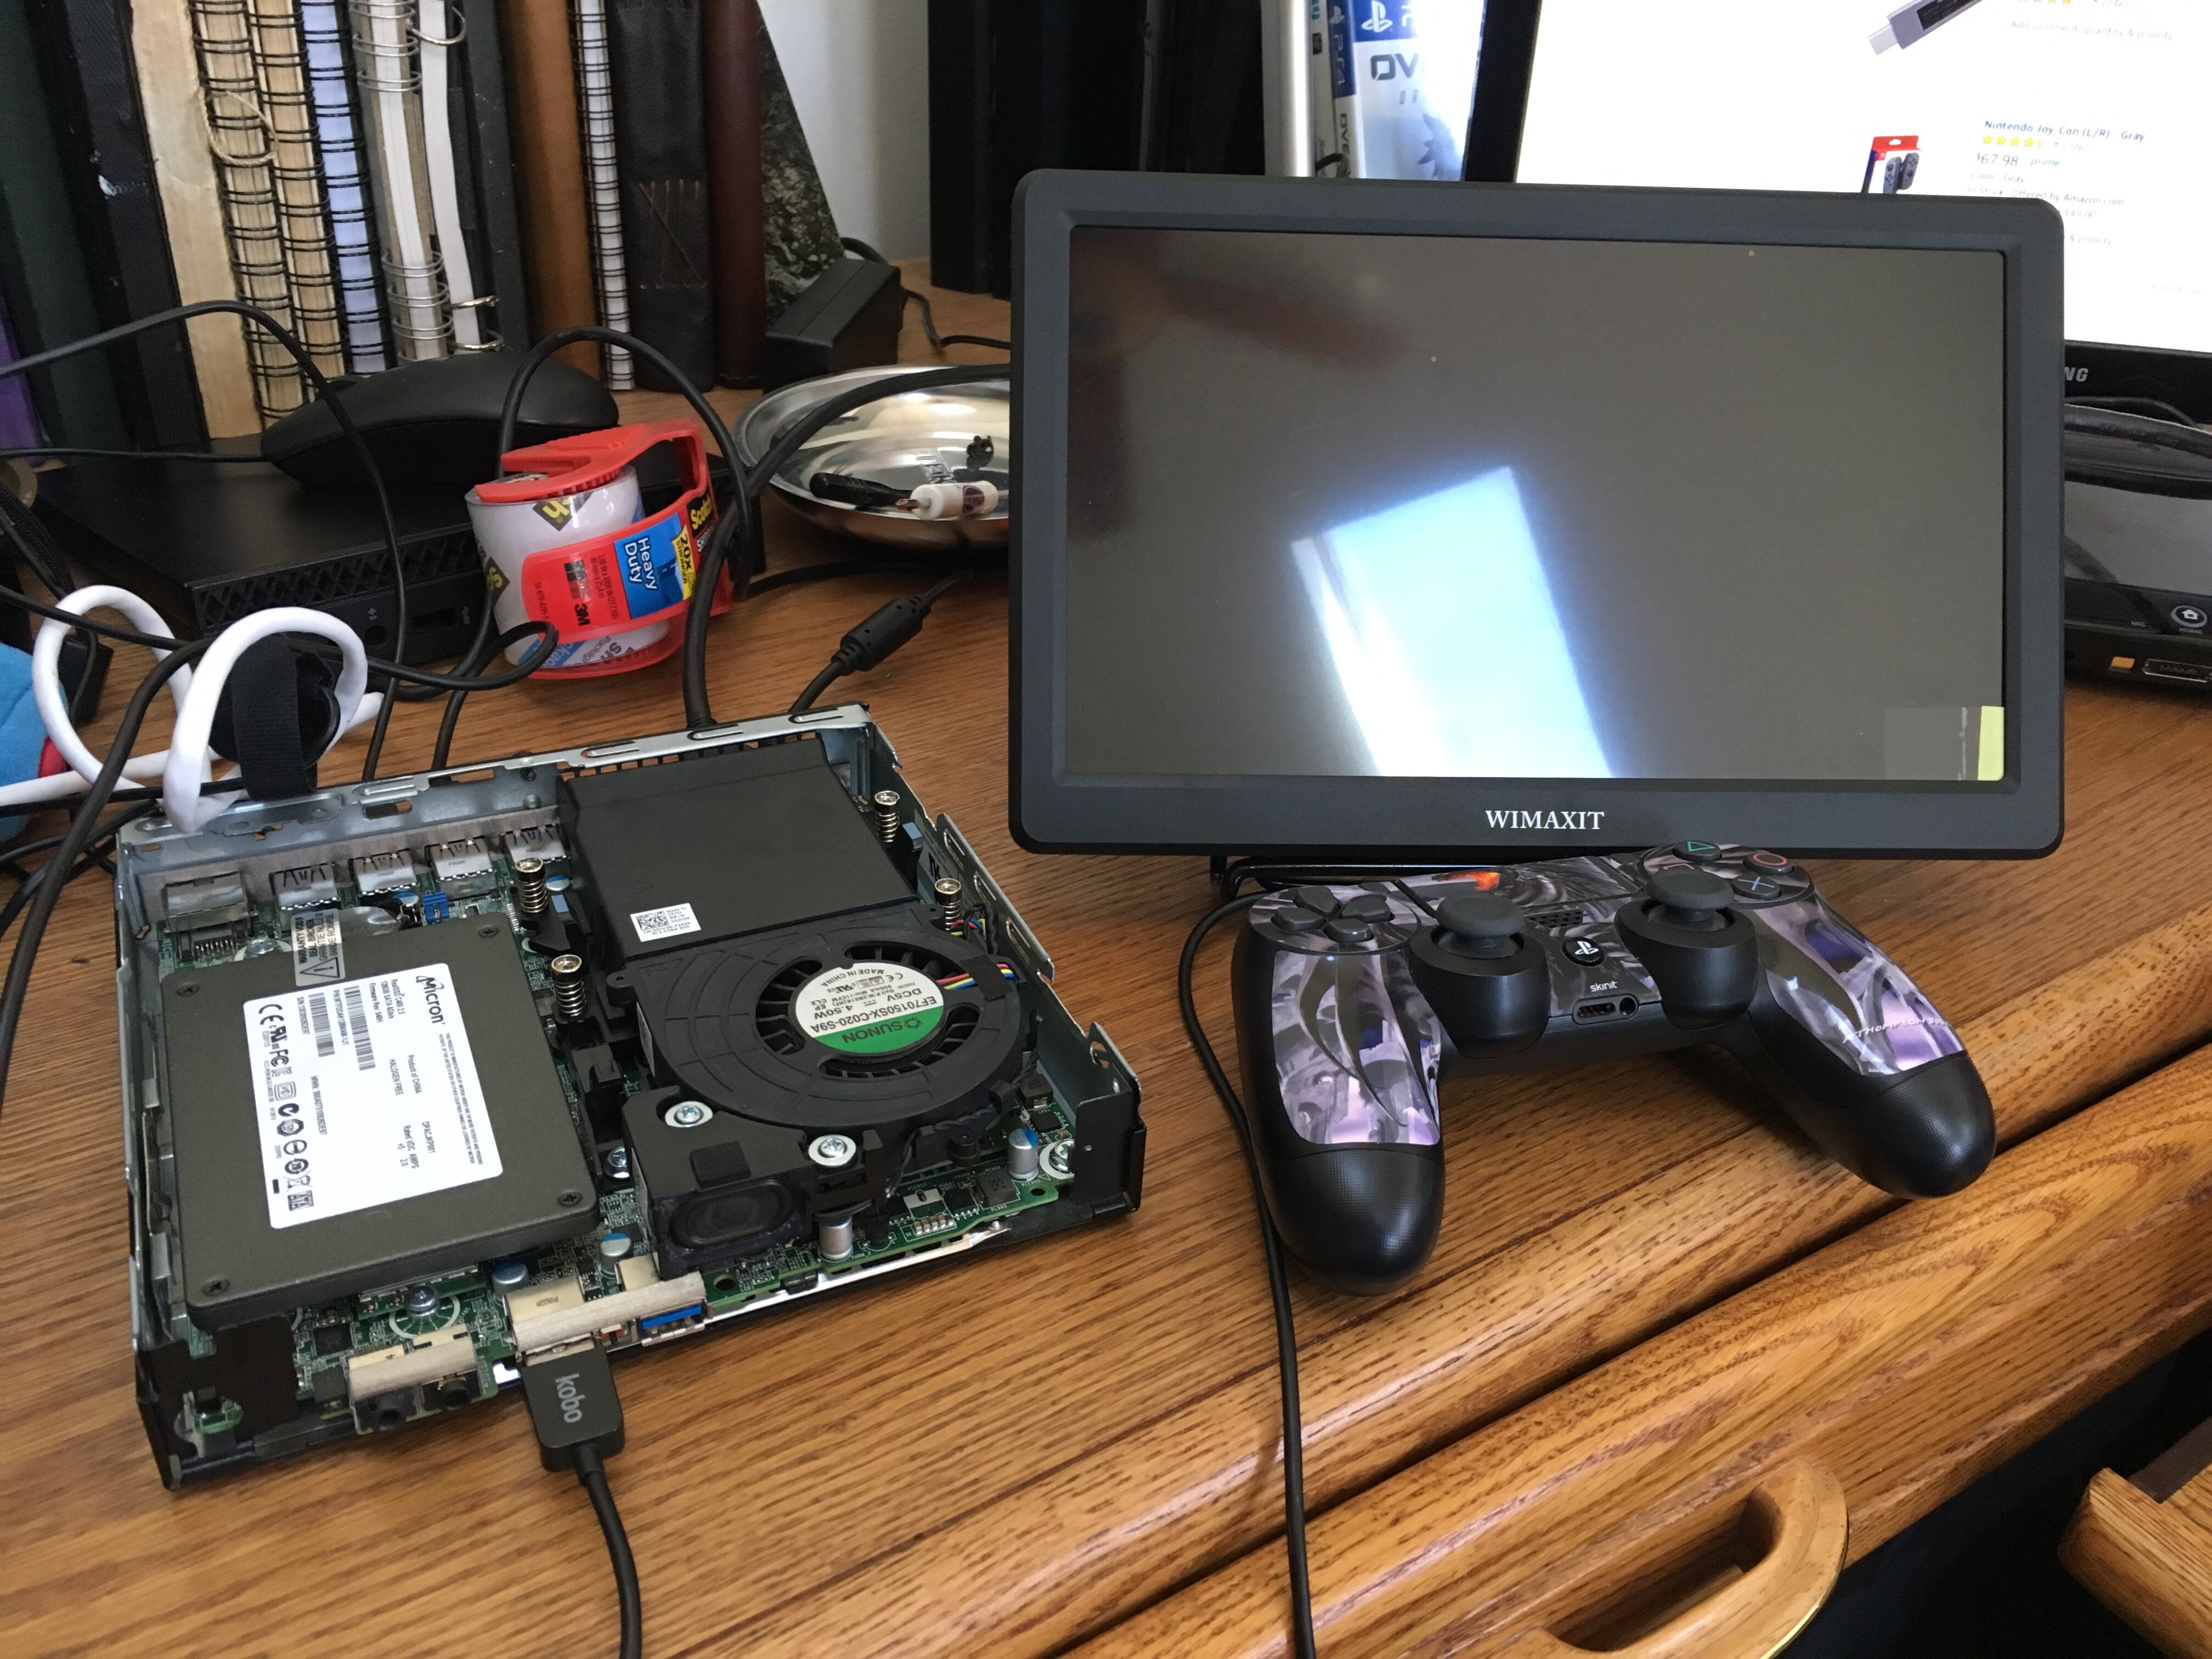
Well, I’ll be mounting controllers to the side of the unit, so making sure that SteamOS handles non-Steam Controllers well is an important step. Before I drop $70 on the Switch Joy-cons that will be in the final product, I hooked up my trusty DualShock 4 controller with a MicroUSB cable. SteamOS automatically recognized it, and accepted it as an input device. I tweaked the controller layout in the OS a little bit, because I’m a picky person, and the config changes worked AND saved between games.
The next step was adding wireless and bluetooth connectivity. The motherboard has two M.2 slots on it, one designed for a hard drive, and the other designed for just what I was looking to add. Once the card came in, it was incredibly easy to install and use. SteamOS recognized it right away. This was the exact opposite experience I’d had when trying to replace the internal wifi/bluetooth card on my laptop, so I was overjoyed. OVER. JOYED. Unfortunately, I couldn’t successfully test it for connecting to the local network or to the DualShock 4, because I was (and am) waiting for the laptop antenna I’m going to mount on the inside of the screen. Hey, when your friend is hooking you up with free parts from his collection, you can wait. But, it works! In the OS! And can see things!
Figuring out which screen to use was difficult. I needed something that wasn’t going to suck a lot of power, was able to handle full 1080p, and wasn’t too large to use comfortably on an airplane between my substantial belly and the seatback in front of me. That’s the whole point of this project, right? Thanks to this sweet video, I ended up going with this screen, originally meant for videographers and photographers. It’s incredibly light, and has a lot of room under the back panel. It’s full 1080p, and is incredibly crisp. It honestly looks better than the test monitor I had it hooked up to, which has just added to my excitement. Its only drawback is that it can’t be powered by a conventional USB port.
The project is coming along so smoothly that I’m terrified of jinxing it. BUT! Next post will be about swapping out the hard drive, and adding the Nintendo Switch Joy-Con controllers!