
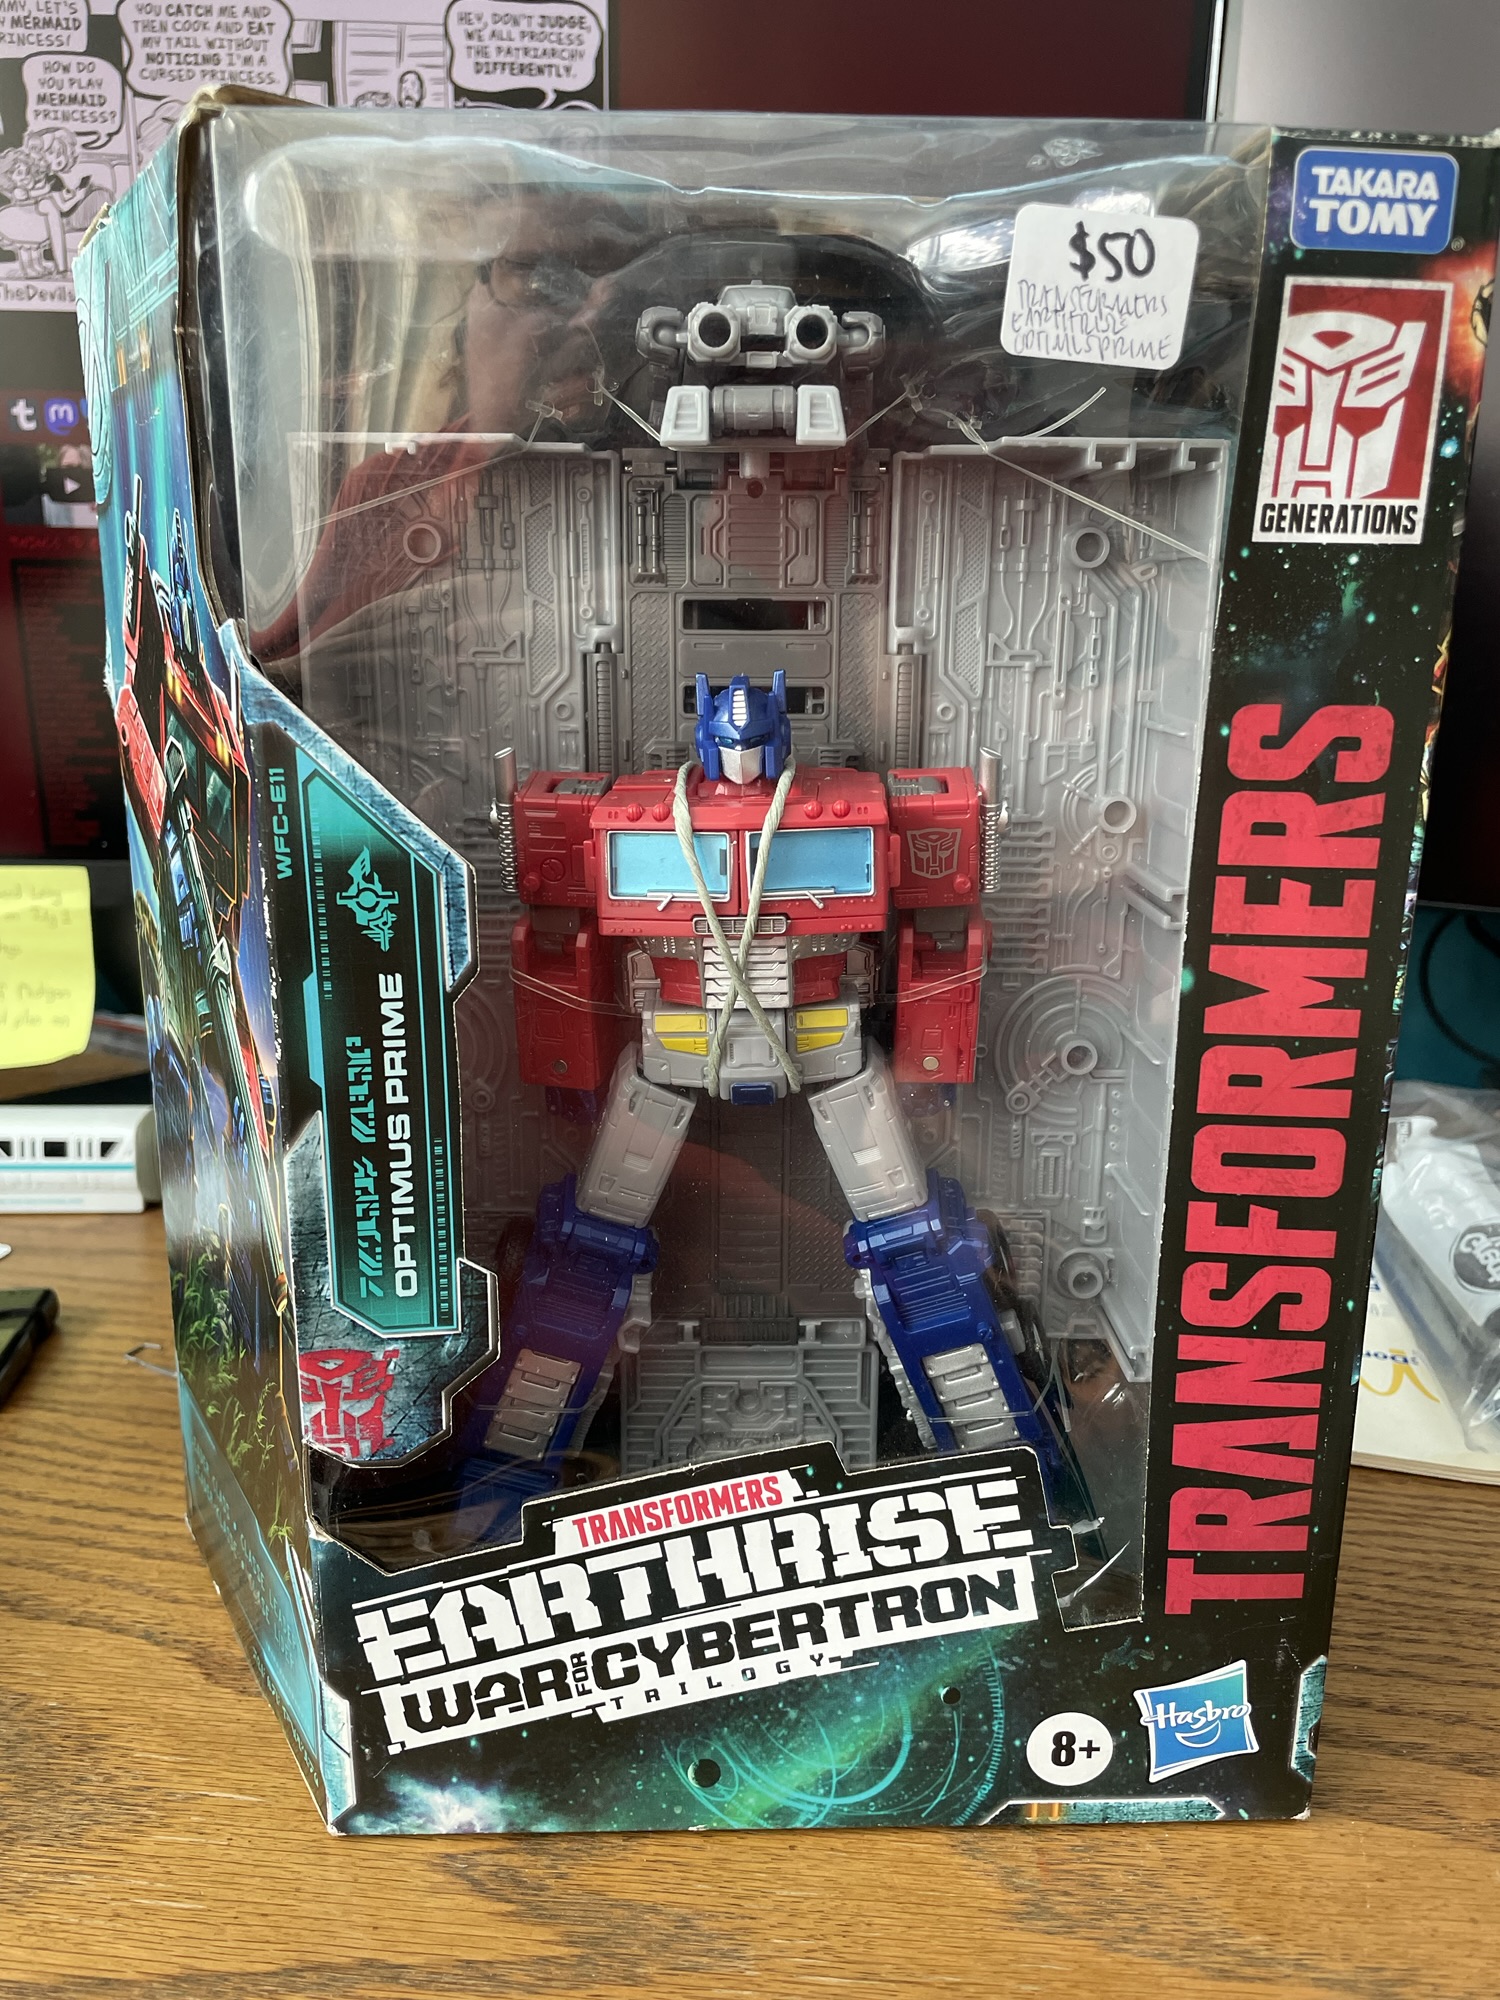
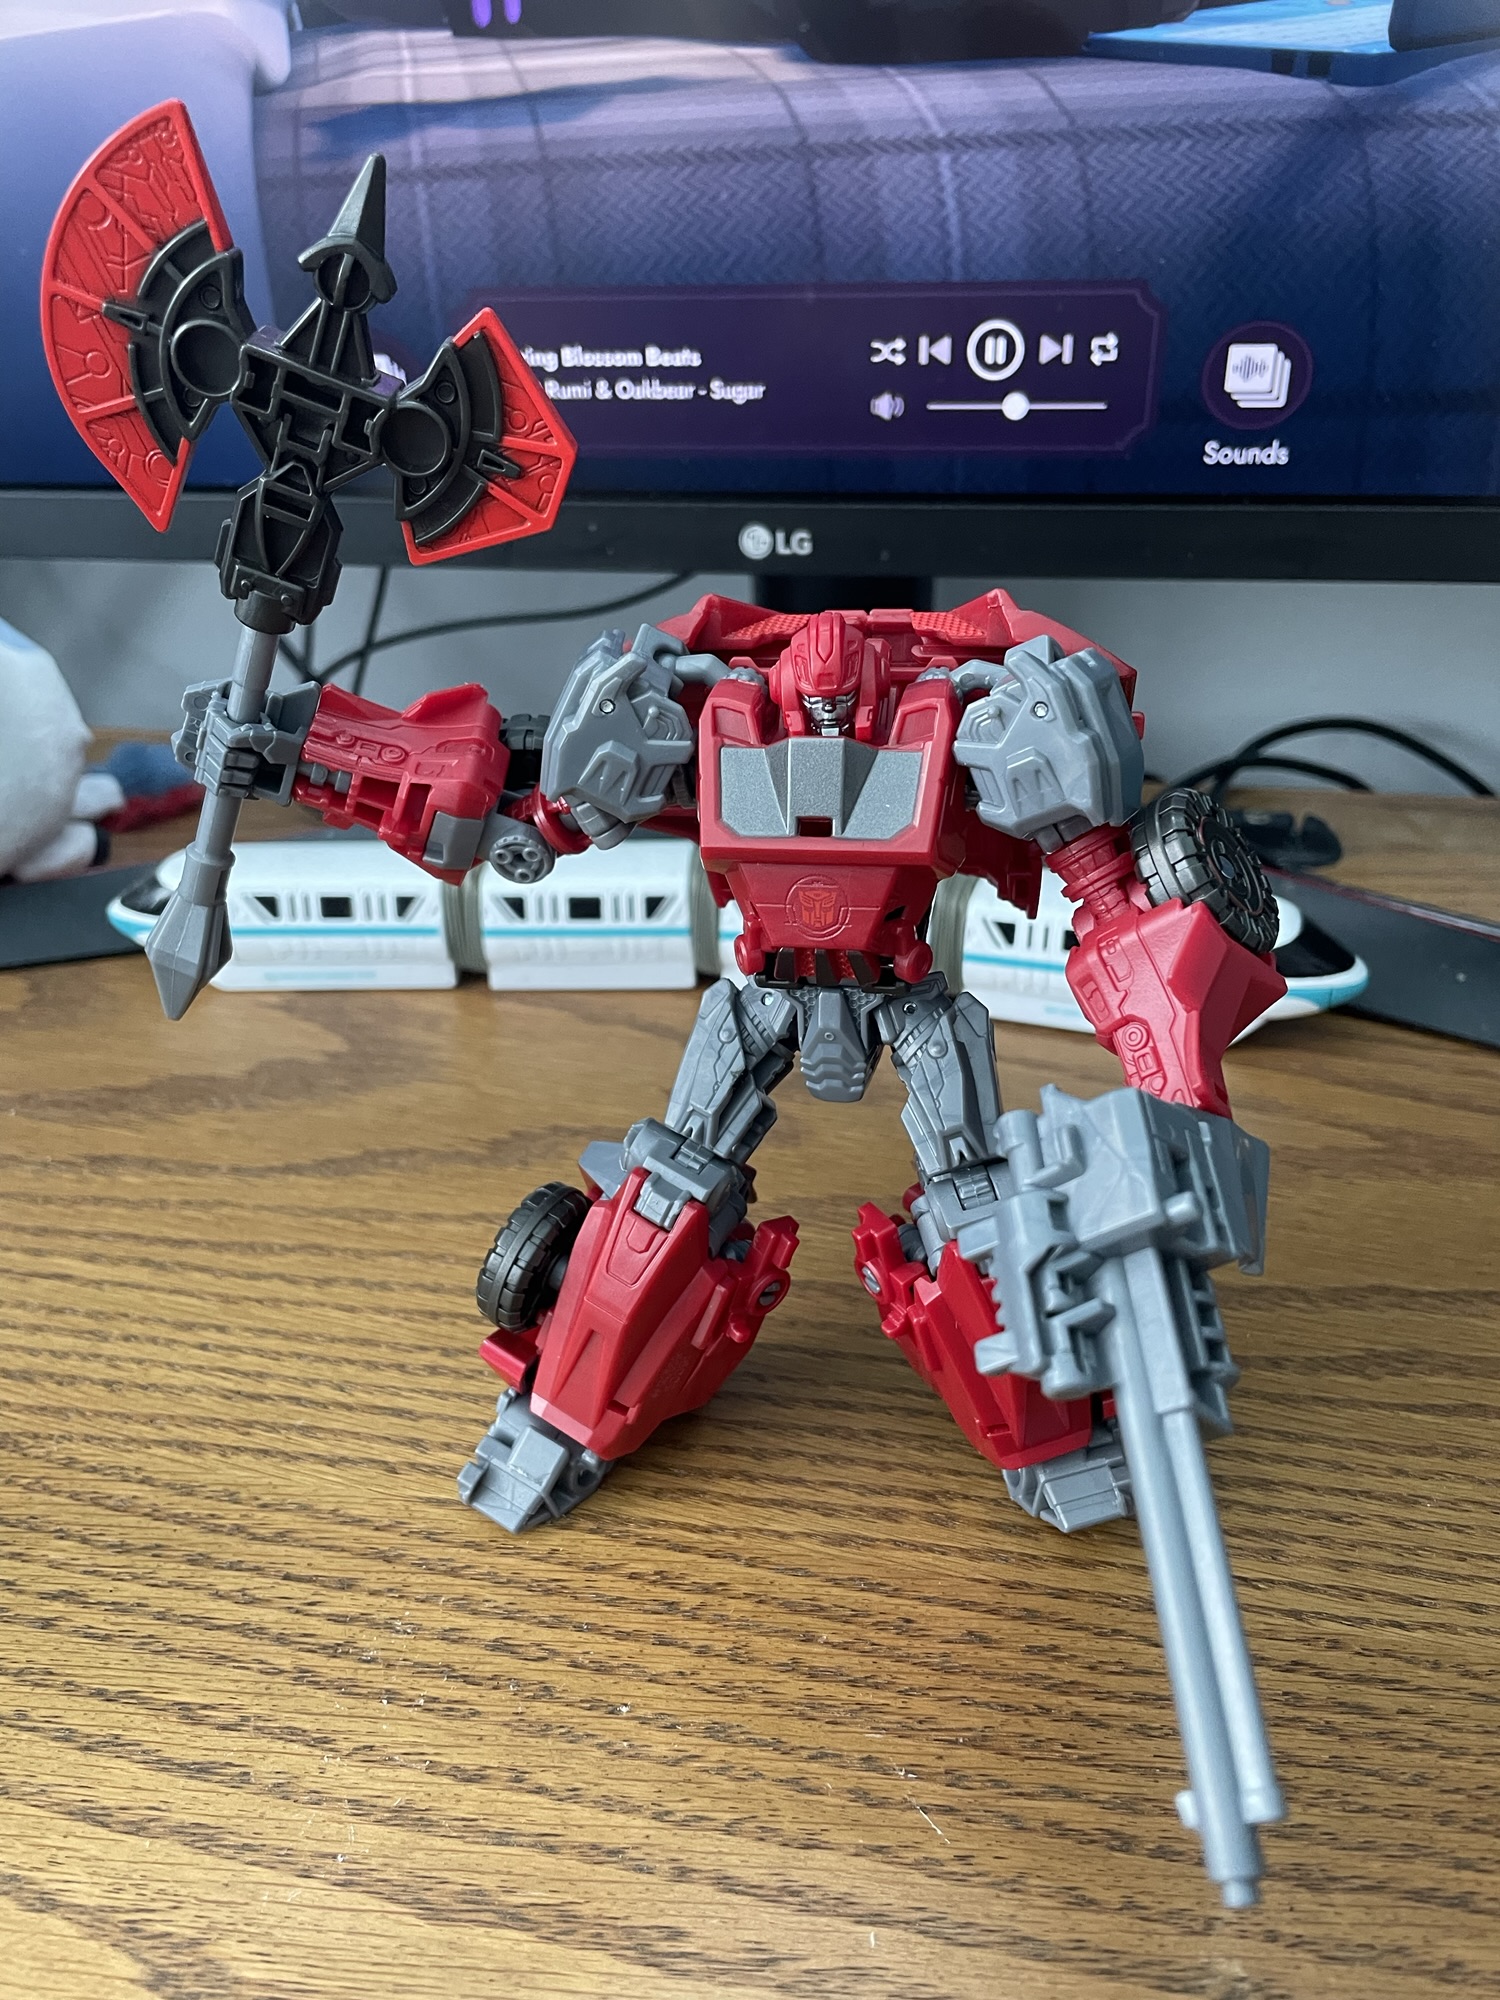
What is a Transformers fan to do when he starts working for a company that’s designing autonomous semi trucks? Obviously, they must get their hands on the best autonomous semi truck of all time, Optimus Prime. And that is exactly what I did. I visited Grave Danger in Old Town Lansing (now called Shock Treatment), and picked up the Earthrise Optimus Prime pictured here. Was it worth the $50 price tag?
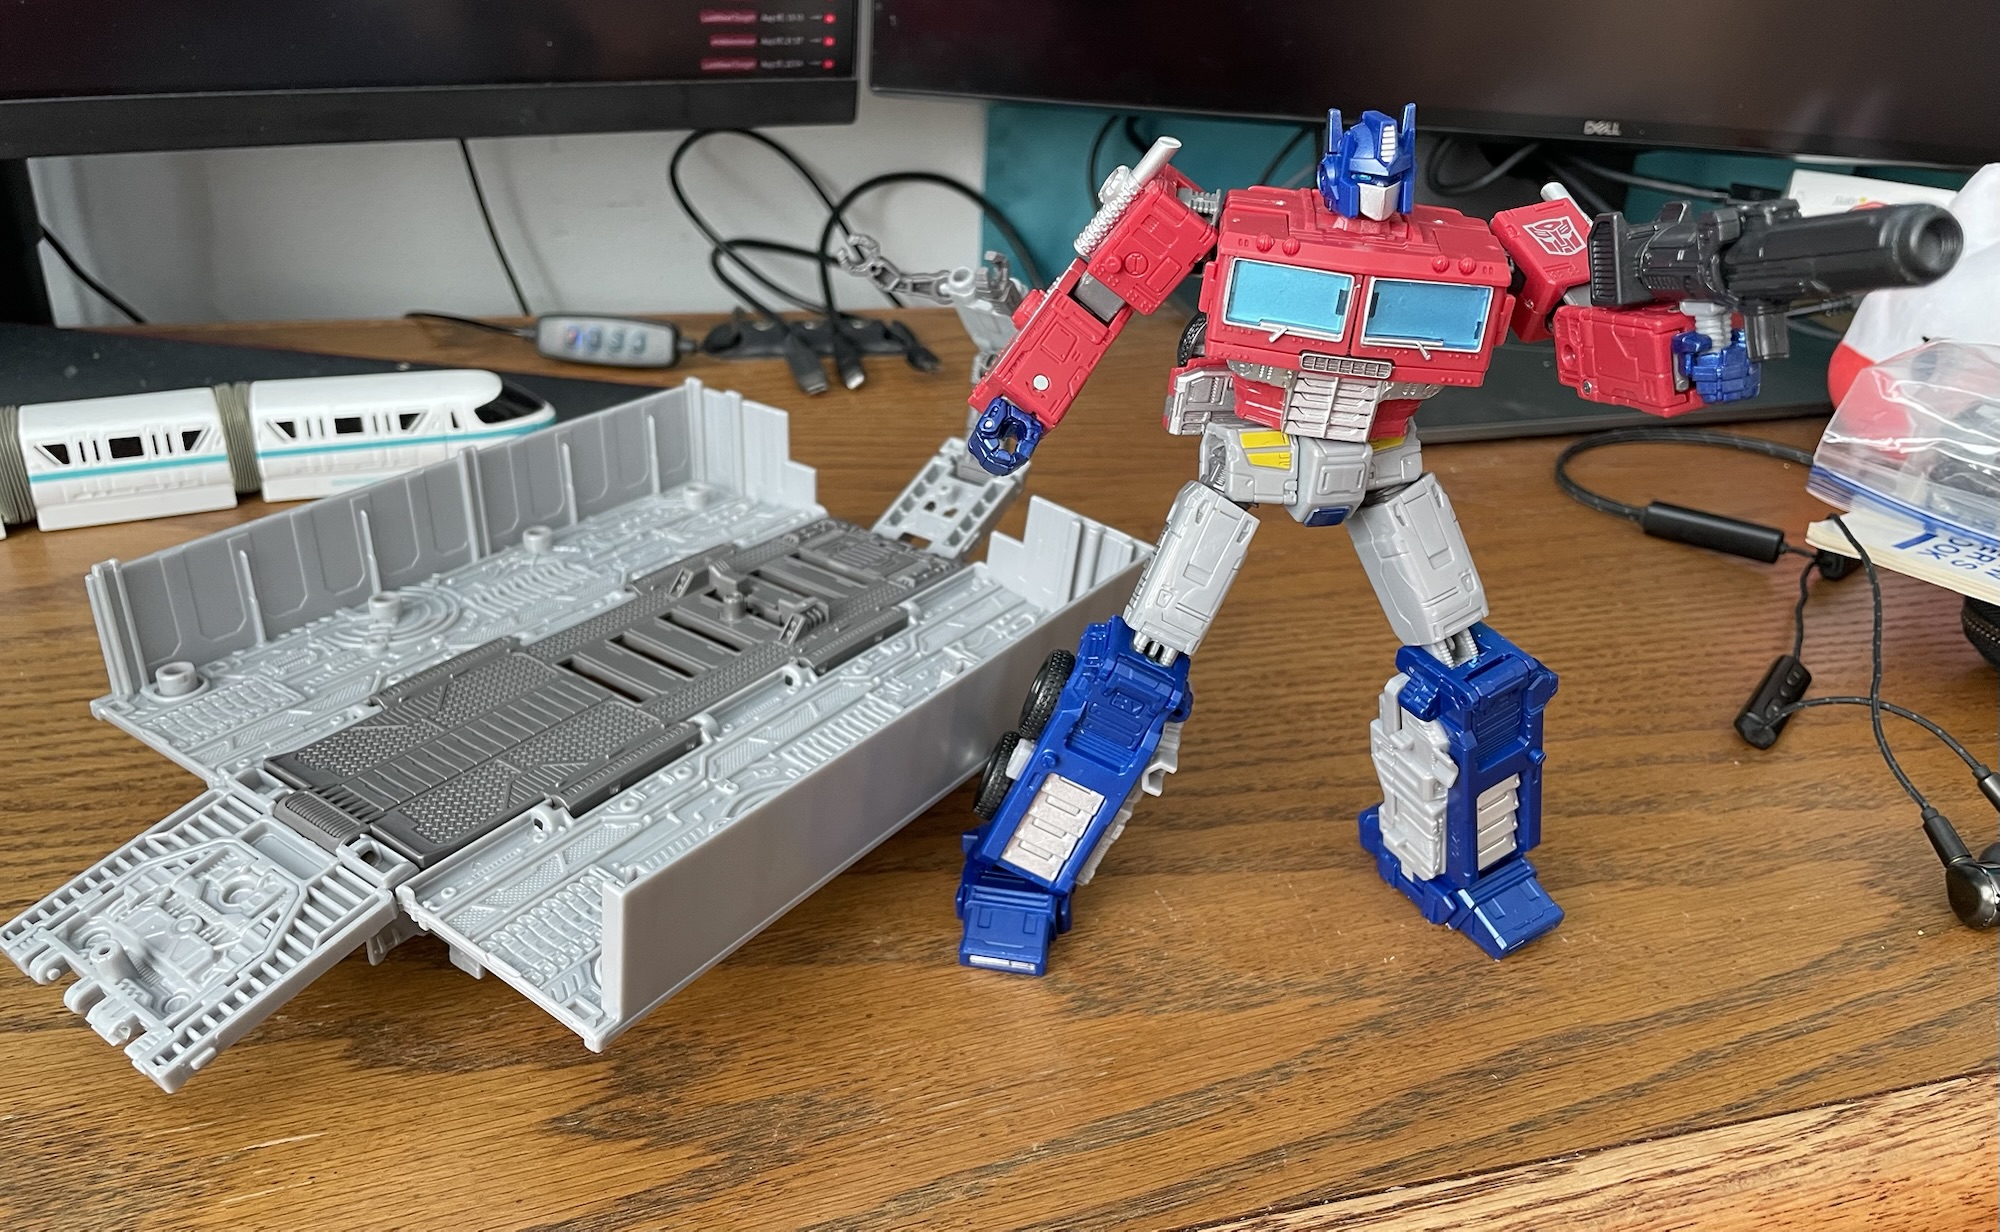
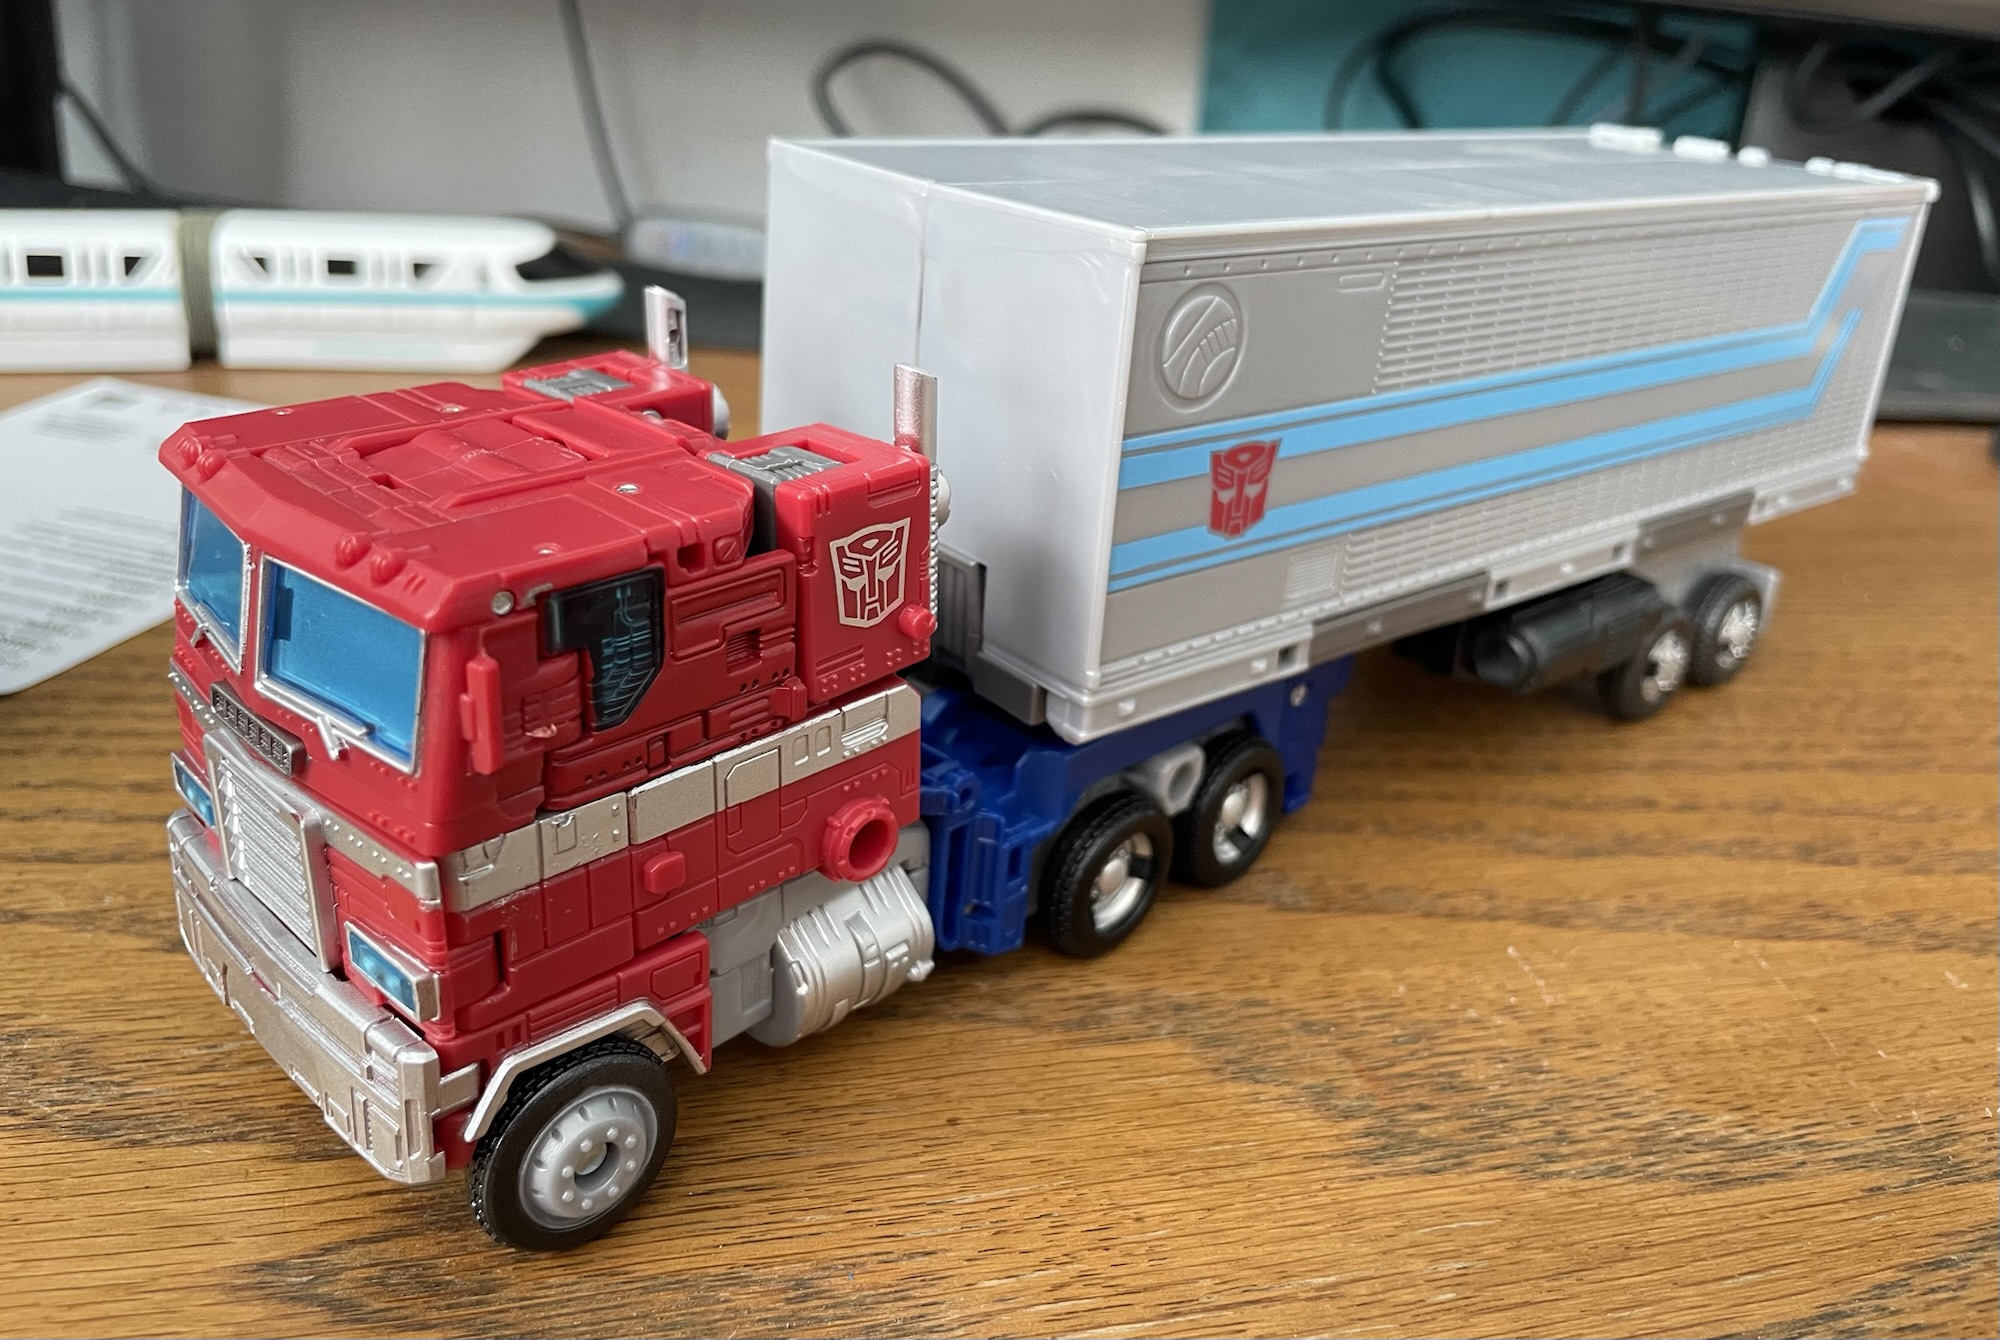
Usually, I would say that’s too high a price for a toy this size. But for Optimus, and for this particular Optimus, it was absolutely worth it. He’s got the classic look, he’s got elbows, and he’s got knees! He’s got the classic gun, the trailer, and the repair bay!
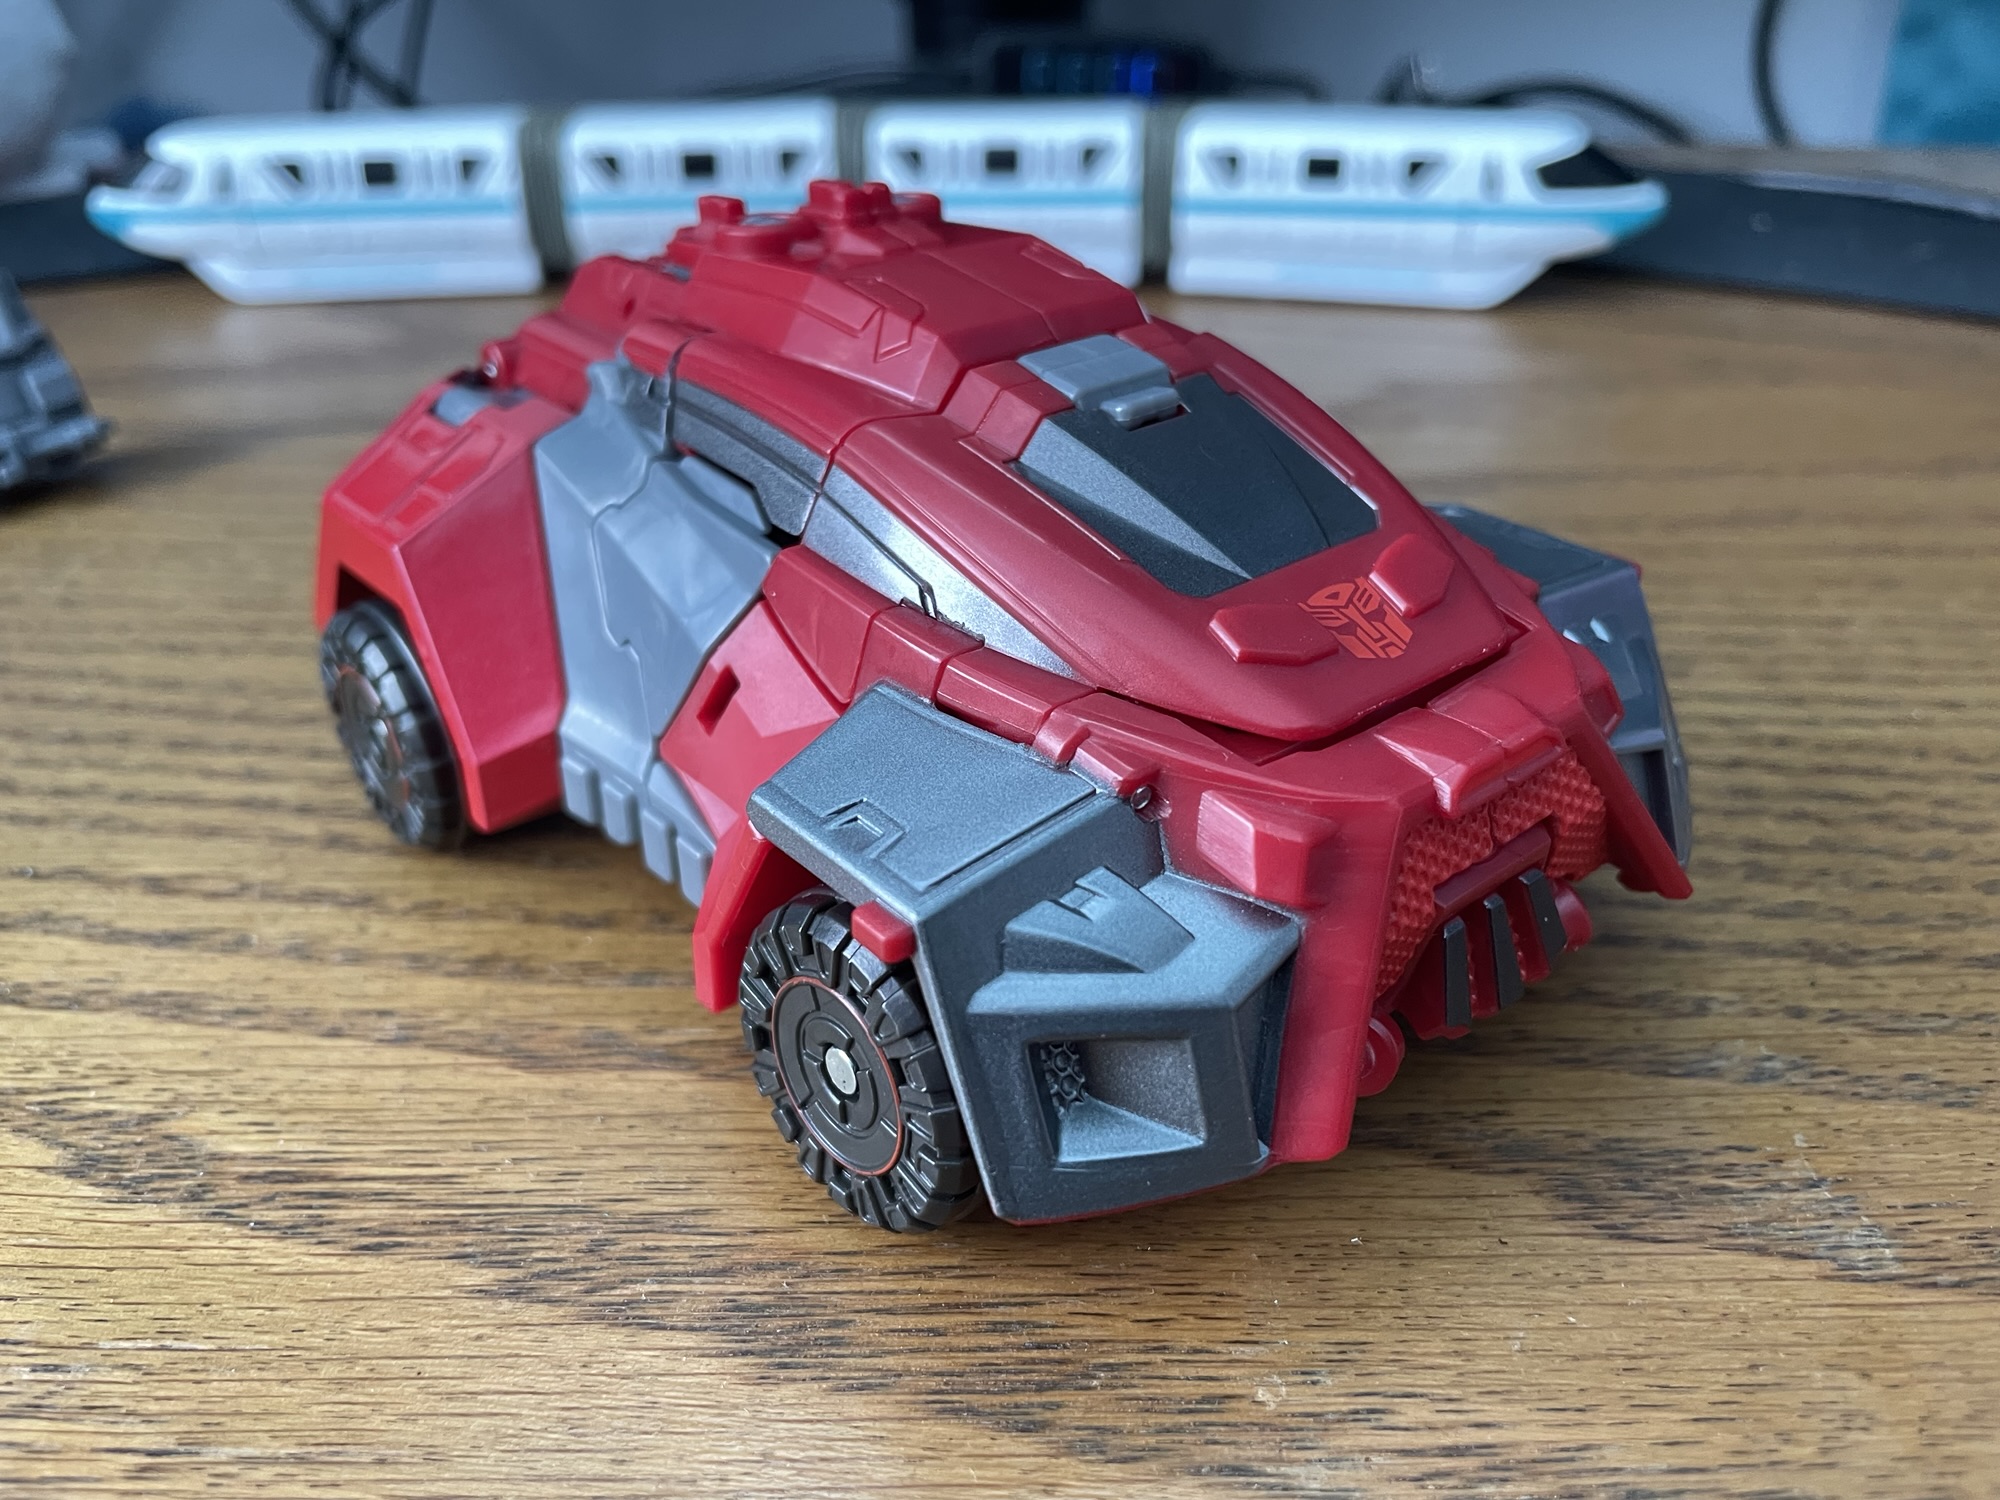
In robot mode, he looks straight out of the G1 show. In order to get this kind of show accuracy, the bumper and grill couldn’t actually be the same pieces between vehicle and robot modes, so the toy does some very clever hiding and folding away when it transforms in either direction.
With all of his articulation points (down to the fingers!), he can be posed in all kinds of ways befitting of a Prime. And while I don’t have a stand to hold him in that position, you can bet that I’ve done the jump pose!
This toy was one of the few pieces of personality at my desk in a cube farm, bringing me optimism and hope in an otherwise bleary office environment. While it stayed in semi mode for all of that time, the transformation is without hangups, without stubborn or loose pieces, and is honestly a joy. If you’re looking for a fun Optimus Prime that is pretty close to the G1 show, I highly recommend this one. If you can get your hands on it, that is.
