
 You may notice a few changes to the PC in the photo, there. The project has been humming right along, and a lot has changed. The most obvious change, I think, is the hard drive.
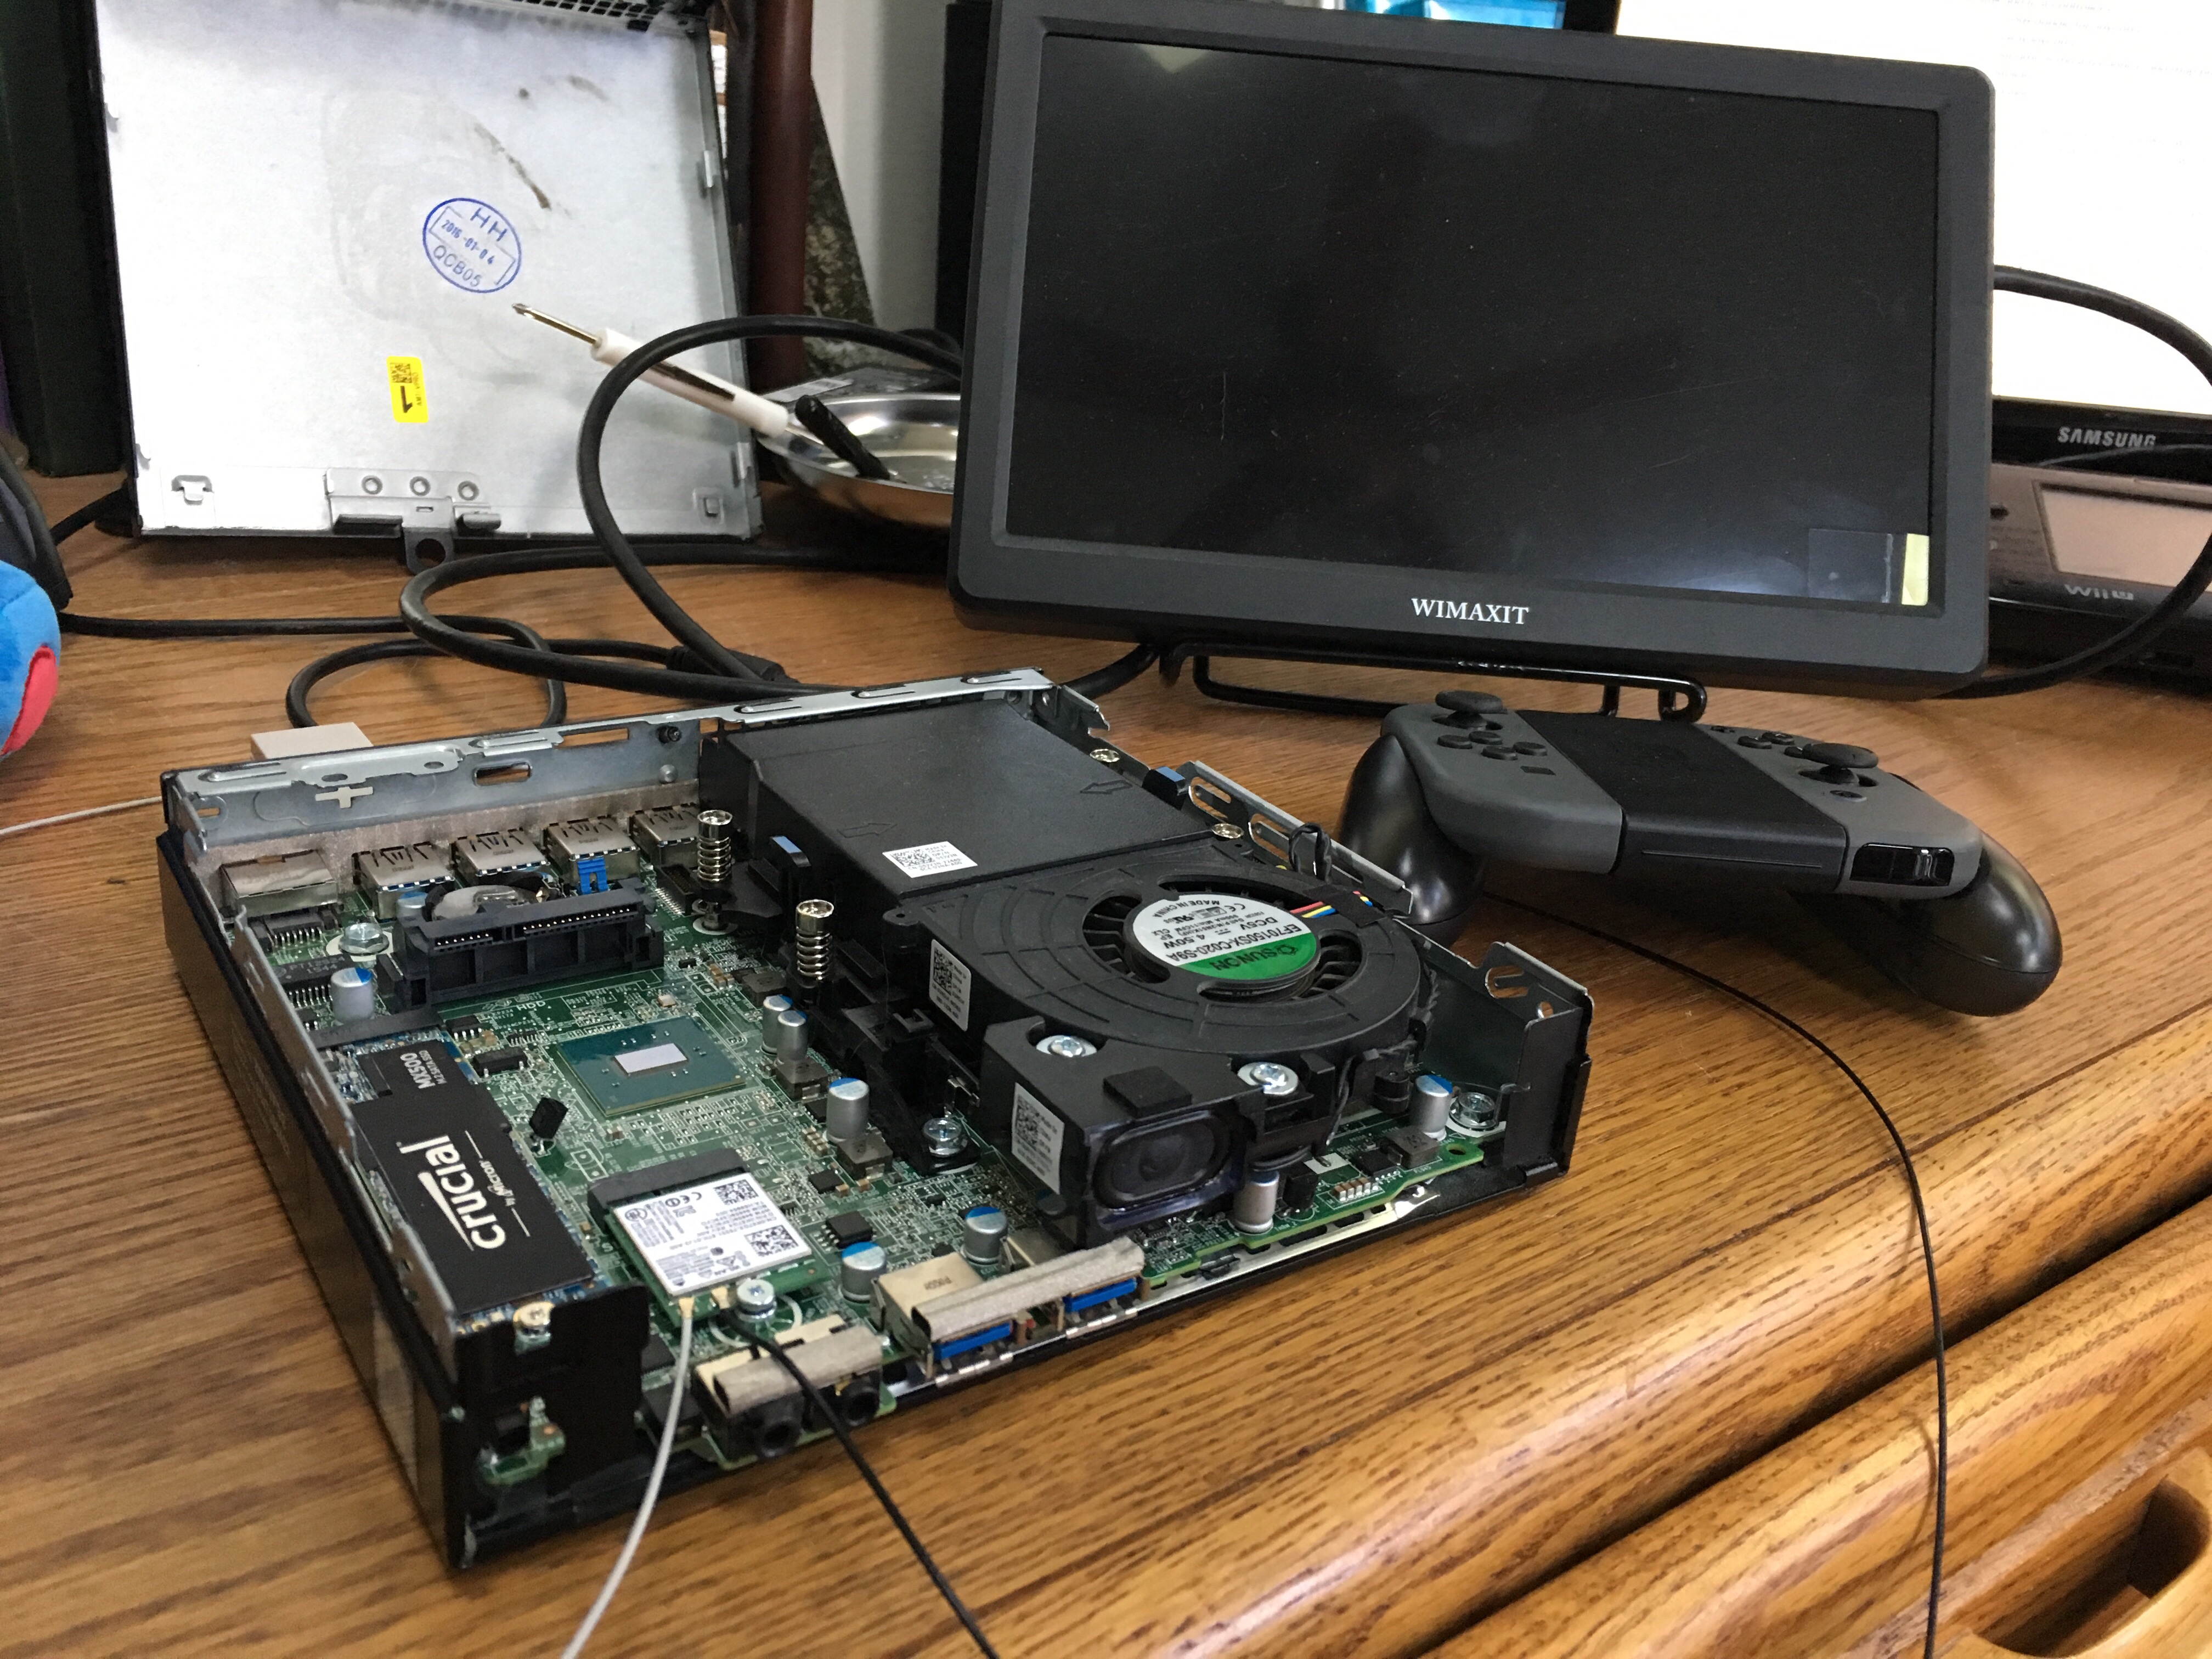
The S-ATA SSD that I had did the job, but it was under the system required space, and took up quite a bit of room. Skippy, you might ask, how can a laptop hard drive take up a lot of room? Okay, that’s fair, I respond, space is definitely relative in this case. As I mentioned in the last post, this motherboard has M.2 slots, one of which I used for the wifi card. I spent a little money and ordered a M.2 hard drive, and it’s ridiculously tiny, despite having 250 gigs on it. It’s the Crucial branded number on the left, there. It’s incredibly fast, was immediately compatible, and generates very little heat. With all of these benefits, it was the way to go when space will be at a premium.
The wifi card looks a little different, too. That’s because I ordered antennas for it! The first antenna I tried to attach was a bust. Apparently, when the standard changed from Mini PCI-E to M.2, they took the opportunity to make the antenna connectors smaller. Incredibly small. I was expecting a struggle after my last attempt to attach antennas, but these clipped right on. AND! They have adhesives on the end for when I run them around the edges of the screen. Bonus!
Also! My Dualshock 4 controller seems to have mysteriously morphed into Nintendo Switch Joy-cons, attached to a Charging Grip. With the wires attached to the wireless card, bluetooth works under SteamOS, and can see the Joy-cons. Unfortunately, it sees each of them as a separate controller, rather than seeing both as one. If you look closely in the back, you may see the Magic-NS adapter sticking out the back. (Thanks to My Mate Vince for this!) When using that, the Joy-cons show up as a single controller that can be easily mapped through Steam’s interface. I played some Bastion and some Talos Principle with them, and was NOT disappointed.
The next step is to take apart the screen and get the motherboard out of its case, determine if we need a custom housing, and move forward from there. SPOOOOOOON!